In 30 seconds
Where to start
- Check battle passes in the membership menu. Some are free; others require gold or a purchase.
- Look in the shop's events section for free appearances and small useful rewards whenever an event starts.
- With membership, use the separate shop for energy refills, tickets, and passes.
Daevanion boards
Daevanion crystals can fill most of the first four boards. They raise active and passive skill levels and add stats. Buy crystals with Shugo festival currency earned from one-time dungeons in enemy territory. Clear every one-time dungeon.
If additional boards are available in your version, fill them with node fragments that can be morphed into complete nodes in the Transmogrification menu.
| Board | Fragment sources | First priority |
|---|---|---|
| PvE board | solo dungeon, daily quests, weekly quest bundle from a city merchant, seasonal quests, auction | PvE Damage Boost, then Damage Tolerance |
| PvP board (Azphel) | Abyss quests and shop, arena, feathers from any Abyss level | Status Effect Resist first, which also helps against bosses and monsters, then gold PvP damage nodes |
| Additional board 1 | tiered dungeons and a higher-level temple activity, seasonal quests | damage, then defense |
| Additional board 2 | third tier of higher-level activities and fifth dungeon tier | damage, then defense |
The nightmare shop also sells complete nodes, but its currency is better spent elsewhere. Inspect your class boards in Daevanion.
Skills and stigmas
Character levels, the Shugo shop, the nightmare shop, and turning in feathers at the monolith are the skill point sources. Complete the monolith. Level stigmas from the start: fourth-tier and higher dungeons and fortresses of any level supply stigma shards, with more from higher levels. The Abyss shop sells complete points.

For class-specific priorities see Gladiator, Templar, Assassin, Ranger, Sorcerer, Spiritmaster, and Chanter.
Titles and achievements
- Attack title: Unbound by Genus for full Genus Insight, or Golden Glow. In general, seek flat Attack or Damage Boost.
- Defense title: Damage Tolerance, such as Saint of Altgard.
- Utility title: Combat Speed or Cooldown Reduction, which can add substantial damage.
Some achievements are especially useful. Clear normal Draupnir 10 times for a gold Pantheon statue. Complete 32 Fire Temple achievements for Kromede's colossus, which duplicates Zikel's colossus. Also pursue achievements that grant Attack, Accuracy, and Critical Hit titles: obtaining an achievement itself raises a stat.
Wardrobe and pets

Weapon and outfit appearances in the wardrobe add more than looks: outfits give Attack and defense, weapon appearances give Attack, and armor appearances give defense.
Level pets as high as possible, using the daily Odylium Repository as a convenient source. Pet progression gives a permanent bonus to all your characters on the server.
Genus Insight
Locking options too early is an expensive mistake. Follow this order:
- Level pets, save crystals, and reroll the board without locking anything until all nine slots unlock.
- With nine slots, orange stats enter the pool. In slots 3 and 9, first roll orange Double Chance or a damage boost, including Critical Damage, Penetration, general damage, or Back Attack, then lock them.
- In slots 1, 4, and 7, look for Accuracy or Critical Hit.
- In slots 2, 5, and 8, seek more Attack: maximum Attack, general or Critical Attack. Power Shard damage is also acceptable.
Daily, weekly, and Abyss quests provide Genus Insight crystals. Only the first quest reward is guaranteed, so choose quests with the most crystals.
Wings
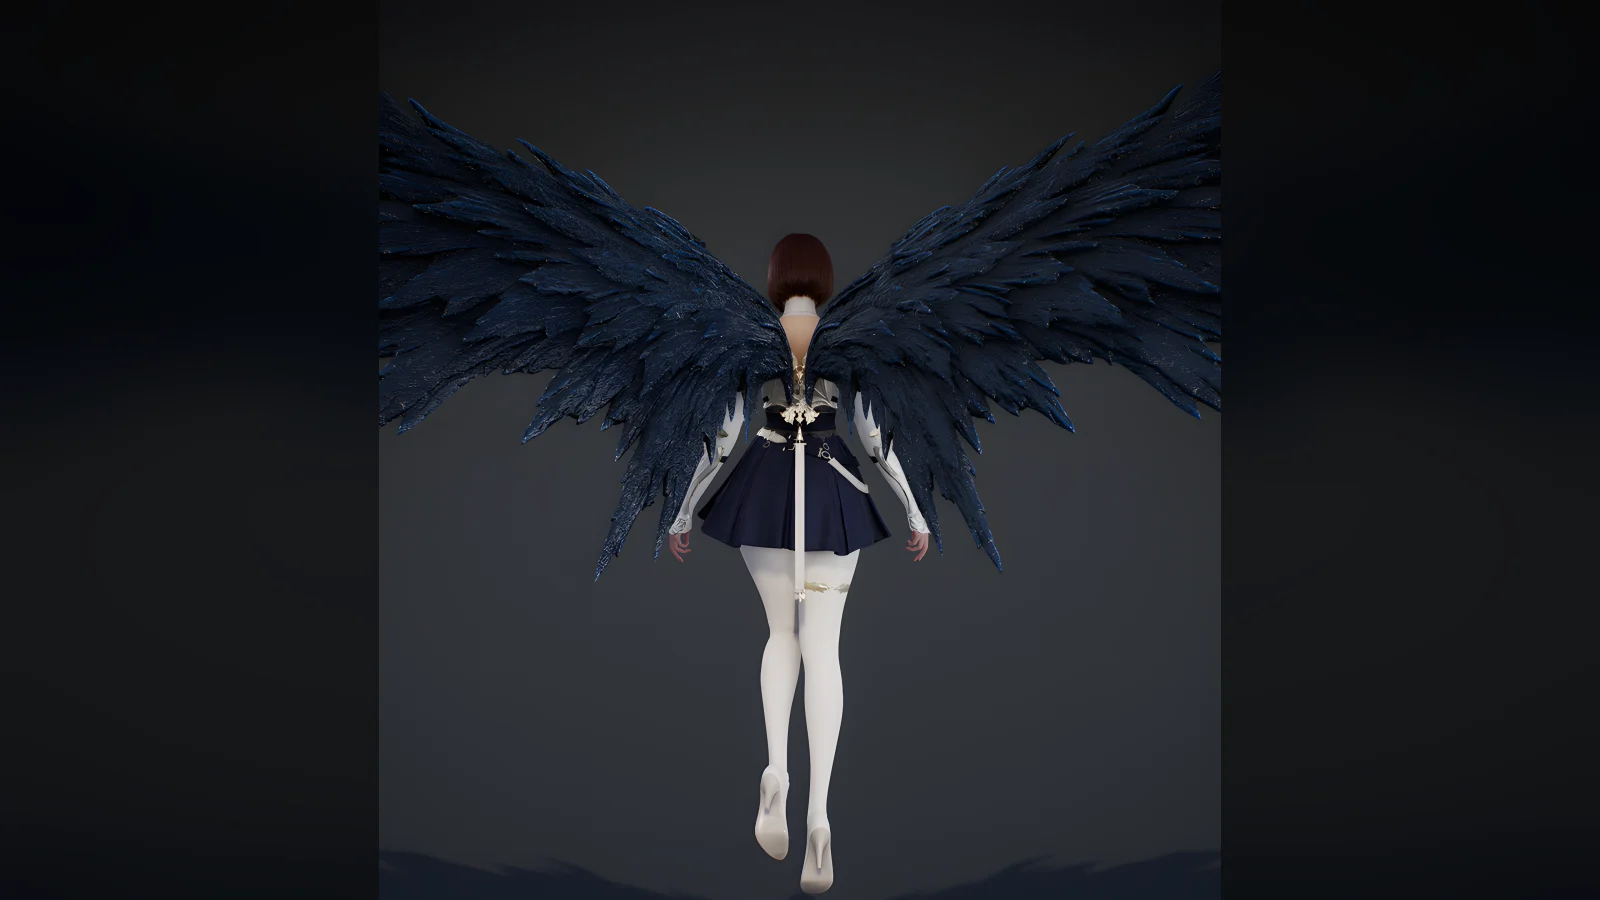
The most useful wings are in the season shop: they provide Attack, Accuracy, and especially Cooldown Reduction. Collect the others from dungeons and activities for collection bonuses and flight time. Gray wings are cosmetic.
Enhancement menu

- Enhancement: start with ordinary dust. After +15 on gold items and +20 on orange items, enhancement stones are required and costs rise sharply.
- Seals: dismantle an item in Transmogrification to obtain a seal. Check its level: gloves may need a fourth-level seal while the item you dismantle yields only a third-level one.
- Manastones: roll Critical Hit, Accuracy, Attack, and Damage Boost. Tanks can take Block without overcommitting.
- Power shards: work only in weapons; two identical ones do not stack. Combine extras for a chance at a better shard.
- Soul Binding: codex pages level weapon properties. Adjusting rerolls one option; a codex reset rerolls all of them. Resetting is expensive, so reserve it for items with no useful options.
- Transfer: a new item inherits the donor's options. The donor must be fully enhanced. It is expensive, but cheaper than enhancing and rerolling from scratch.
Pantheon
Pantheon colossi, statues, and paintings strengthen base stats. Fire Temple achievements give Kromede's colossus; quests give most statues, plus one comes from Draupnir. Painting fragments drop in dungeons, while crafting quests and open-world bosses provide blue and green ones. Gold paintings are too expensive early. Fill slots with cheap options and replace them later; most paintings give similar stats.
Arcana
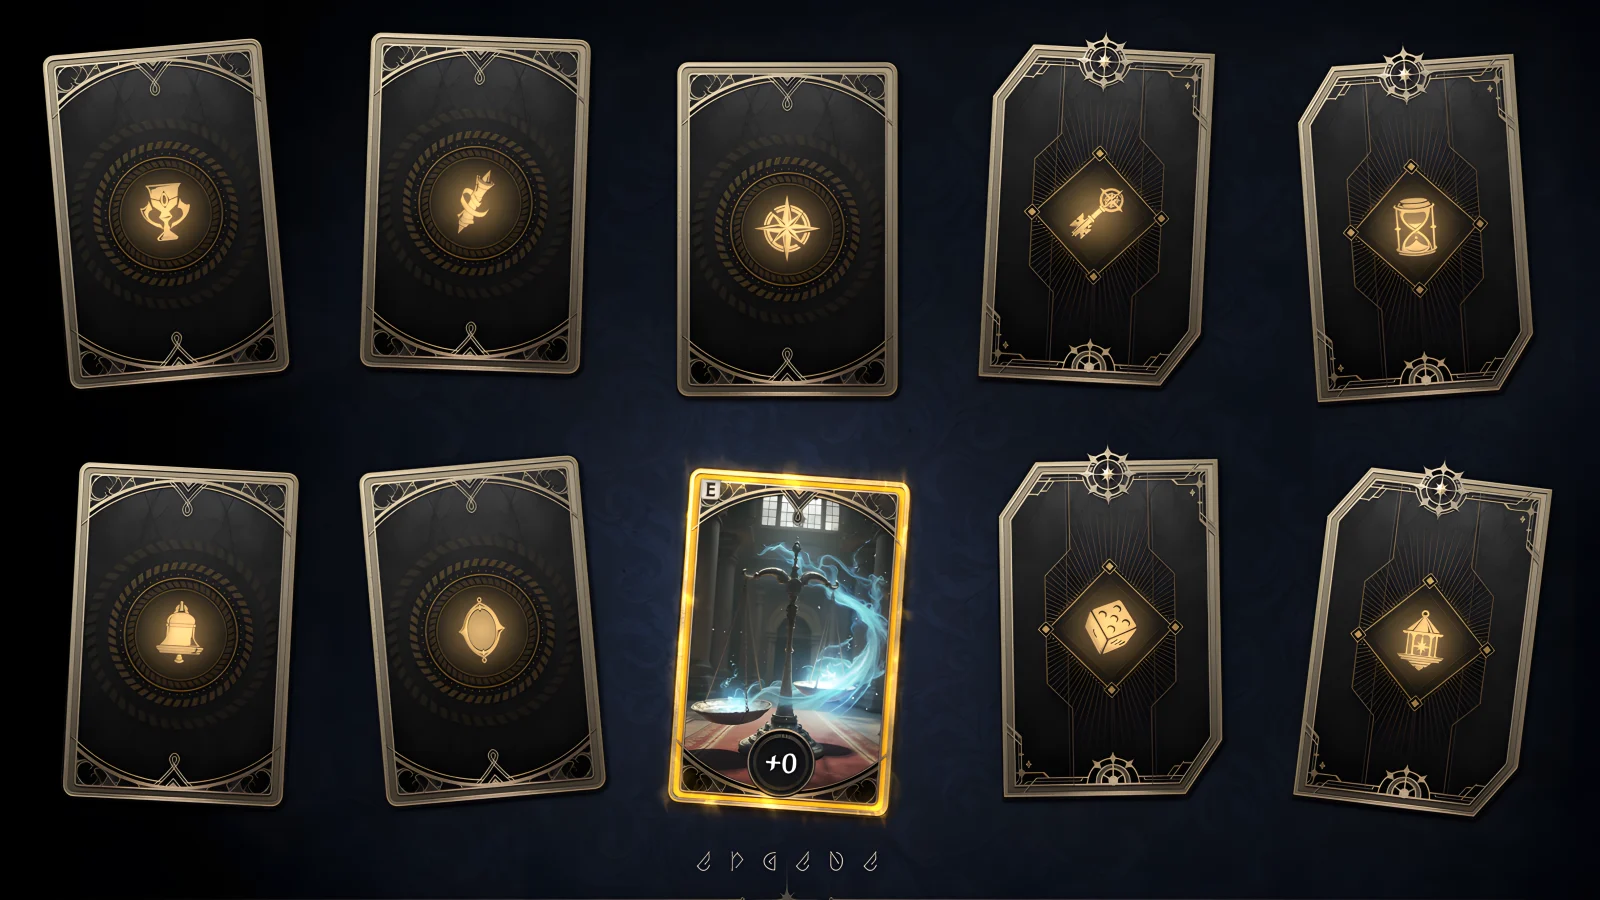
Arcana raise active and passive skills but consume plenty of resources. If a card has at least two skills you want, try upgrading it. If upgrades keep raising useless random stats, set it aside and make another. Upgrade stones can be morphed from fragments earned in higher-level dungeons.
Do not dismantle old cards into crystals; they can serve as donors. Each class guide lists useful skills for every card.
Dungeons and shops
- Hard mode offers more rewards, one extra mechanic, and harder-hitting bosses.
- Daeva Bio-Research Base supplies enhancement dust; Odylium Repository supplies pet souls.
- Shugo festival is worth attending. In the tile event, players can agree on a tie so everyone receives the maximum reward.
- Shugo festival shop: skill points first, then Daevanion crystals, wings from expensive to cheap, appearances, and finally pets. Skip decorations.
- Abyss shop: stigma progression first, then wings and PvP board nodes. PvP-set necklaces and earrings can be dismantled for appearance dust that boosts damage and defense while refunding around 90% of Abyss Points.
- Nightmare shop: skill stones, then wings. Skip PvE board nodes, appearances, and statues. Wardrobe appearances sync across characters, so alts can buy them; Fire Temple achievements also offer an alternative to Zikel's statue.
- Choice chests: take the quick solo dungeon option. In two to five minutes it yields much more Kinah than Odylium Repository, plus board and stigma fragments, manastones, and enhancement materials.
Shop limits
How much you can buy per season, from the Global client — the numbers may change before launch. Prices go up in steps: the next step opens once the previous one is sold out.
| Shop | Item | Limit | Price |
|---|---|---|---|
| Shugo Fiesta | skill points | 45 (15 + 10 + 5 + 5 + 5 + 5) | 50 → 100 → 350 → 700 → 1,400 → 2,800 |
| Shugo Fiesta | stigma shards | 30 | 300 |
| Nightmare | skill points | 20 (4 steps of 5) | 700 → 1,400 → 2,800 → 5,600 |
| Nightmare | stigma shards | 35 | 1,500 |
| Nightmare | Daevanion crystals | 50 | 300 |
| Abyss | stigma shards | 200 (4 steps of 50) | 10,000 → 15,000 → 20,000 → 25,000 Abyss Points |
| Abyss | Azphel Daevanion crystals | 110 (20 + 30 + 30 + 30) | 10,000 → 20,000 → 40,000 → 80,000 Abyss Points |
| Abyss | enchantment stones | 40 (4 steps of 10) | 4,000 → 8,000 → 12,000 → 16,000 Abyss Points |
Buy the cheap skill point steps and the stigma shards in the Fiesta shop first — that is the best rate. One stigma shard is one stigma point; the skills calculator shows how many points your stigmas need.
Required Battle Power
Minimum Battle Power to enter, from the Global client. Dungeons by tier are in Dungeons.
| Conquest | Power |
|---|---|
| Tier 1 | 700 |
| Tier 2 | 1,400 |
| Tier 3 | 2,100 |
| Transcendence | Power |
|---|---|
| Tier 1 | 1,600 |
| Tier 2 | 1,900 |
| Tier 3 | 2,200 |
| Tier 4 | 2,500 |
| Nightmare | Tier 1 | Tier 2 | Tier 3 |
|---|---|---|---|
| Level 1 | 1,000 | 1,700 | 2,400 |
| Level 2 | 1,050 | 1,750 | 2,450 |
| Level 3 | 1,100 | 1,800 | 2,500 |
| Level 4 | 1,150 | 1,850 | 2,550 |
| Level 5 | 1,200 | 1,900 | 2,600 |
| Level 6 | 1,250 | 1,950 | 2,650 |
| Level 7 | 1,300 | 2,000 | 2,700 |
| Level 8 | 1,400 | 2,100 | 2,800 |
| Level 9 | 1,500 | 2,200 | 2,900 |
| Level 10 | 1,600 | 2,300 | 3,000 |
Crafting is a poor early investment when a new gear set can arrive before you finish the old one. Alchemy for manastones and cooking for food are reasonable exceptions. For gathering, take skills that improve quality chances and successful collection.
Starting priorities
- AltsLevel a couple of easy ones, especially Cleric and Chanter. They can clear Ludra and weekly activities for enhancement materials. See PvP and alts.
- Orange gearSave it in storage and wear gold gear. Enhance gold to +10, at most +12. Save orange gear for transfer instead of spending on its enhancement.
- WeaponAim for Kromede's extending weapon from Fire Temple. Three extra meters of attack range matters. Ludra can also drop one.
- Stigmas and ArcanaChoose priorities immediately. Level stigmas from day one; when gold Arcana appear, roll useful skills on them.
- DustSave at least two million enhancement dust. It sounds excessive early, but helps later.
Equipment options
Classes progress similarly and groups often judge Combat Power, not playstyle. An extremely durable tank with low power may struggle to find a party. Equipment option layouts therefore look similar across classes, with class skills changing. See the Templar guide for a full example and the stats guide for general rules.
The takeaway
Level skills and stigmas from the first day, clear one-time dungeons for Daevanion, wait for nine Genus Insight slots, and store orange gear for transfers. Save dust and develop a couple of alts to keep progression affordable.
Comments