In 30 seconds
Dungeon and preparation
Abyssal Forge: Ludra is a raid for two groups of four (eight players). The client lists a death limit of 2 for Conquest difficulty. Rewards include Abyssal gear, a Ludra Gear Voucher, and materials. Since the November 11 update, both difficulties have a 2-hour time limit and the Central Abyss Fusion Reactor has less HP. Before entering, assign who will activate the three auxiliary cores, lead each group, and call out colors and the safe tile.
Place and register a Kisk at the entrance if one is available in your version; this makes it quicker to return after dying. Accuracy food is recommended, with around 1,000 accuracy as a target. Healers should focus on surviving mechanics and keeping the party revivable rather than dealing damage.
- Abyssal CrucibleOne group rides the wind currents to three auxiliary cores and destroys them. This weakens the Central Abyss Fusion Reactor. The other group clears incoming waves and helps finish the central reactor.
- Split after the portalWhen the passage opens, the groups split: the first heads to the first named boss; the second advances, clears regular enemies, and activates the statue. The statue buffs the group fighting the boss.
- Switch rolesAfter the first boss, the groups swap: the former boss group clears enemies and activates the statue, while the other group heads to the next boss arena.
Boss 1: Isolation Specialist Rahu — timer, puddles, and a split arena
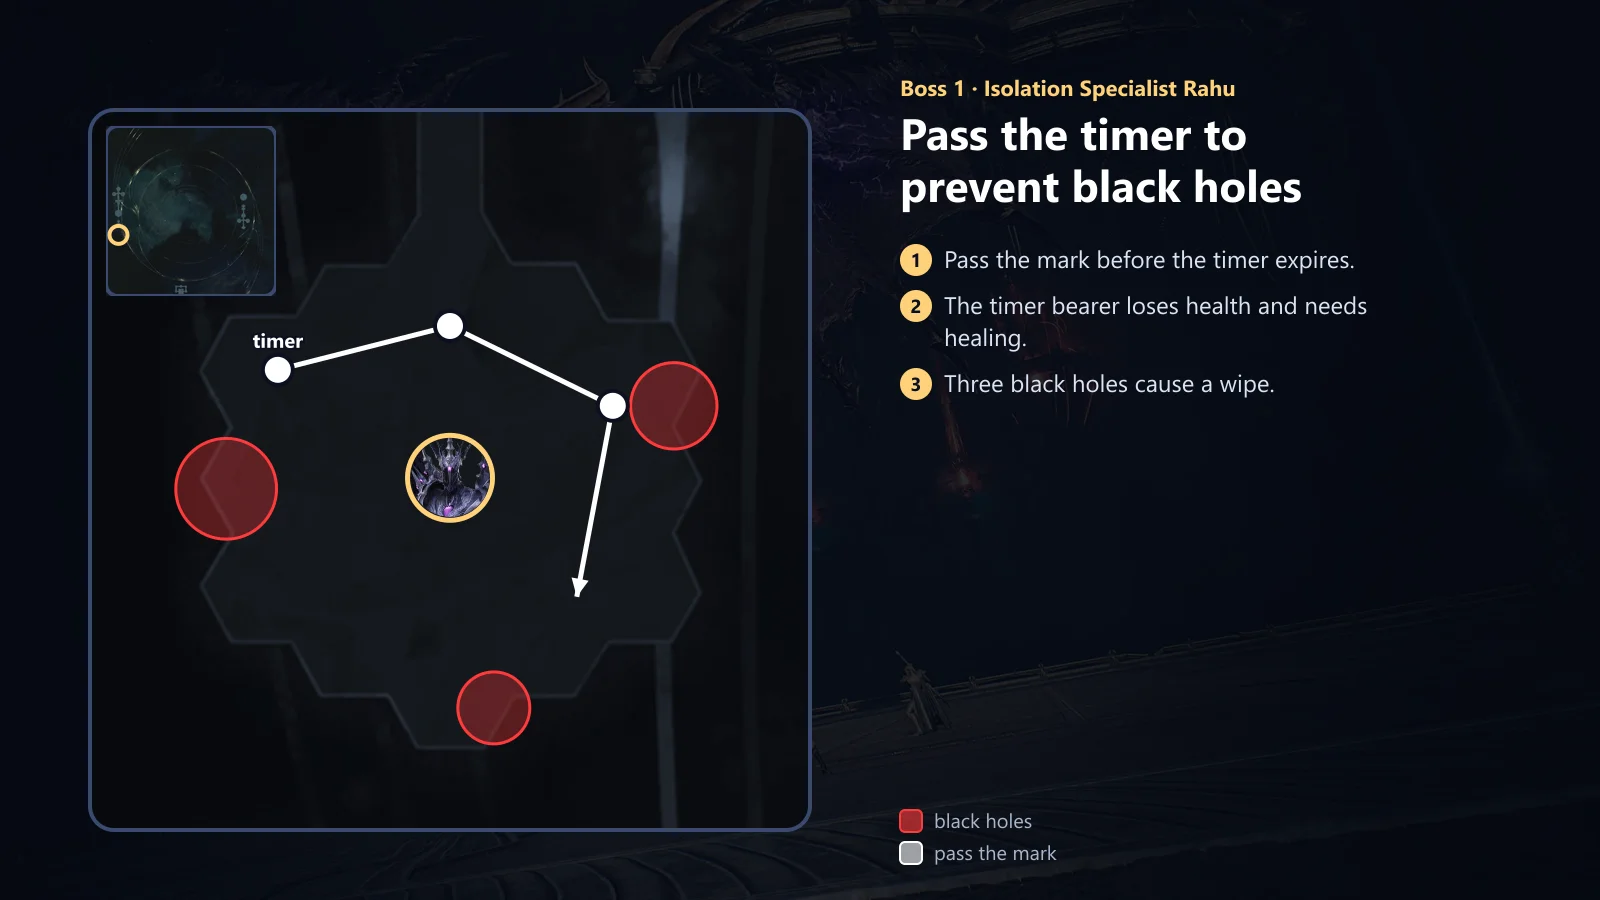
- Pass the timer aroundA random player gets a timer. Move next to an ally and pass the mark early, before the countdown ends. The marked player constantly loses health, so healers need to keep them alive.
- If you do not pass itWhen the timer expires or its bearer dies, a black hole appears. It grows; three black holes cause a wipe. Do not take the mark off alone or die while carrying it.
- Rings and personal puddlesOn overlapping rings, group tightly near the boss so the safe gaps line up. At about 75%, the boss returns the party to the arena edge and starts circular zones: move together clockwise, avoiding each new zone. Then everyone gets a personal puddle; spread out at once and leave them near the outer edge.
- Cross at 50%When the stagger bar turns gray, gather in a group of four on clear ground. The boss splits the arena with a cross and places personal zones. Put them along the edges of your section without blocking its narrow safe area. On the split arena, survival and passing the timer take priority.
- Last addsNear the end, aim targeted zones at the remaining enemies to remove them. If they survive the mechanic, another black hole appears.
Boss 2: Abyssal Wings Ketu — lasers, orbs, and Soulstones
- Jump over the wavesWhen the boss moves away and a red eye appears above a player, Ketu targets them, then sends waves like a jump rope. Jump over them; getting hit increases the damage you take.
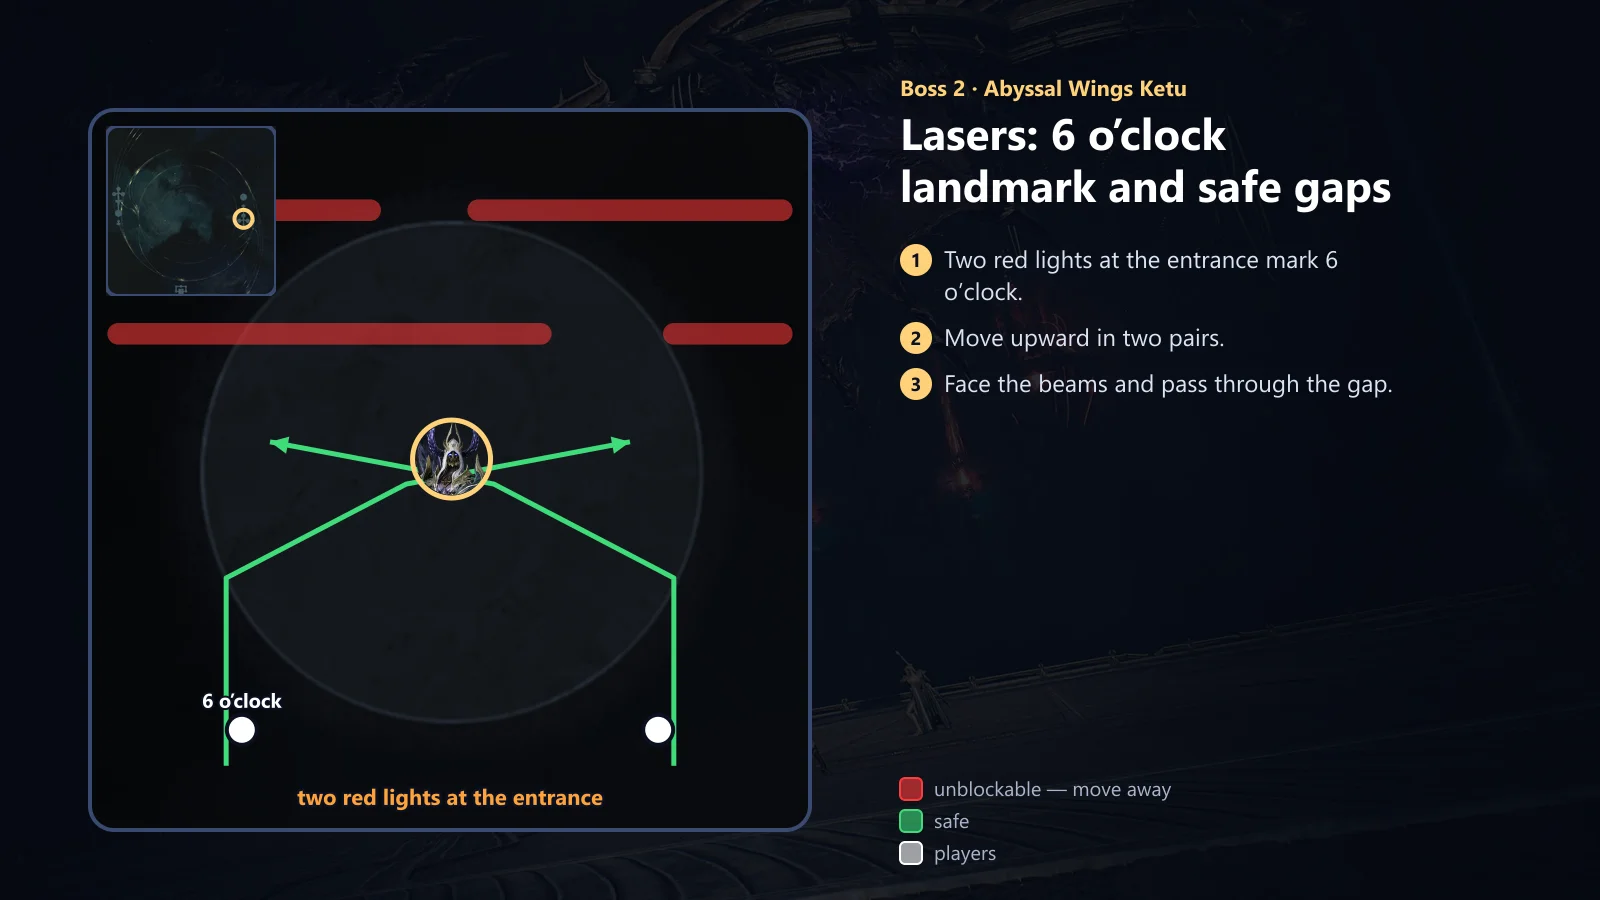
- Hide-and-seek at about 75% and 50%The 6 o'clock landmark is the building with two red lights at the hall entrance. Gather there when the mechanic starts, then split into pairs. Move up along the left and right edges, killing enemies.
- LasersDeadly beams sweep in from the edge of the hall. Face their source and step through the gap between them. Do not turn away from the laser pattern. At the temporary transparent wall, wait it out, then run straight to the central safe zone that opens; keep shields and healing up.
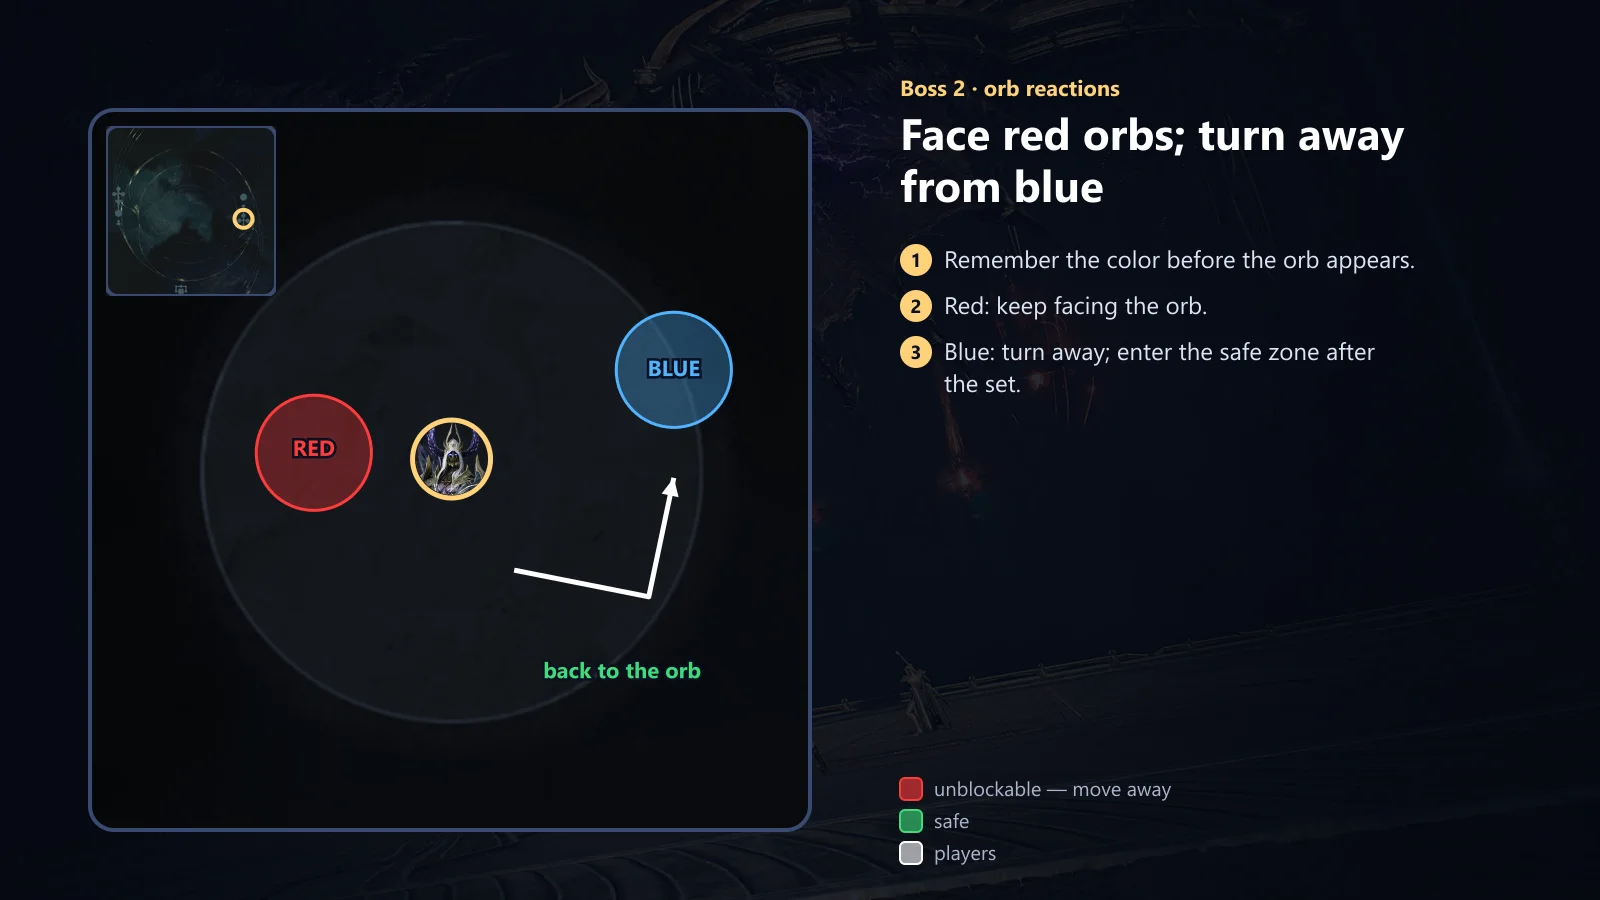
- Orbs and facingAfter the first wave, nearby players collect purple orbs by jumping. In later sets, remember: face red orbs and turn away from blue ones. Repeat the reaction in the order the orbs appear, then move to the safe zone.
- Soulstones at about 25%Gather near the boss and lead your personal red fan away from the stones. Once the zone locks in, leave it and break the nearest Soulstone; it grants about five seconds of invulnerability. Move to the next stone before the effect ends and refresh your protection, lasting about ten seconds. Do not break stones with the first zone. If possible, the healer should stay alive to revive fallen allies.
Final boss: Eternal Ludra
Place a Kisk before entering and assign healer roles. Keep your distance during the fight: personal hits and lightning are dangerous when they overlap. Ranged players should not stack together. Healers should prioritize healing, dodging, and staying alive to revive allies. The November 11 Global update fixed an issue where Ludra’s Trial failed to reset after the party was wiped during a mechanic.
- Jumps and frontal attacksAfter a strike in front, two waves follow; jump over them. Move away from the breath and tail. Melee players are safer by the boss's side; ranged players should keep their distance.
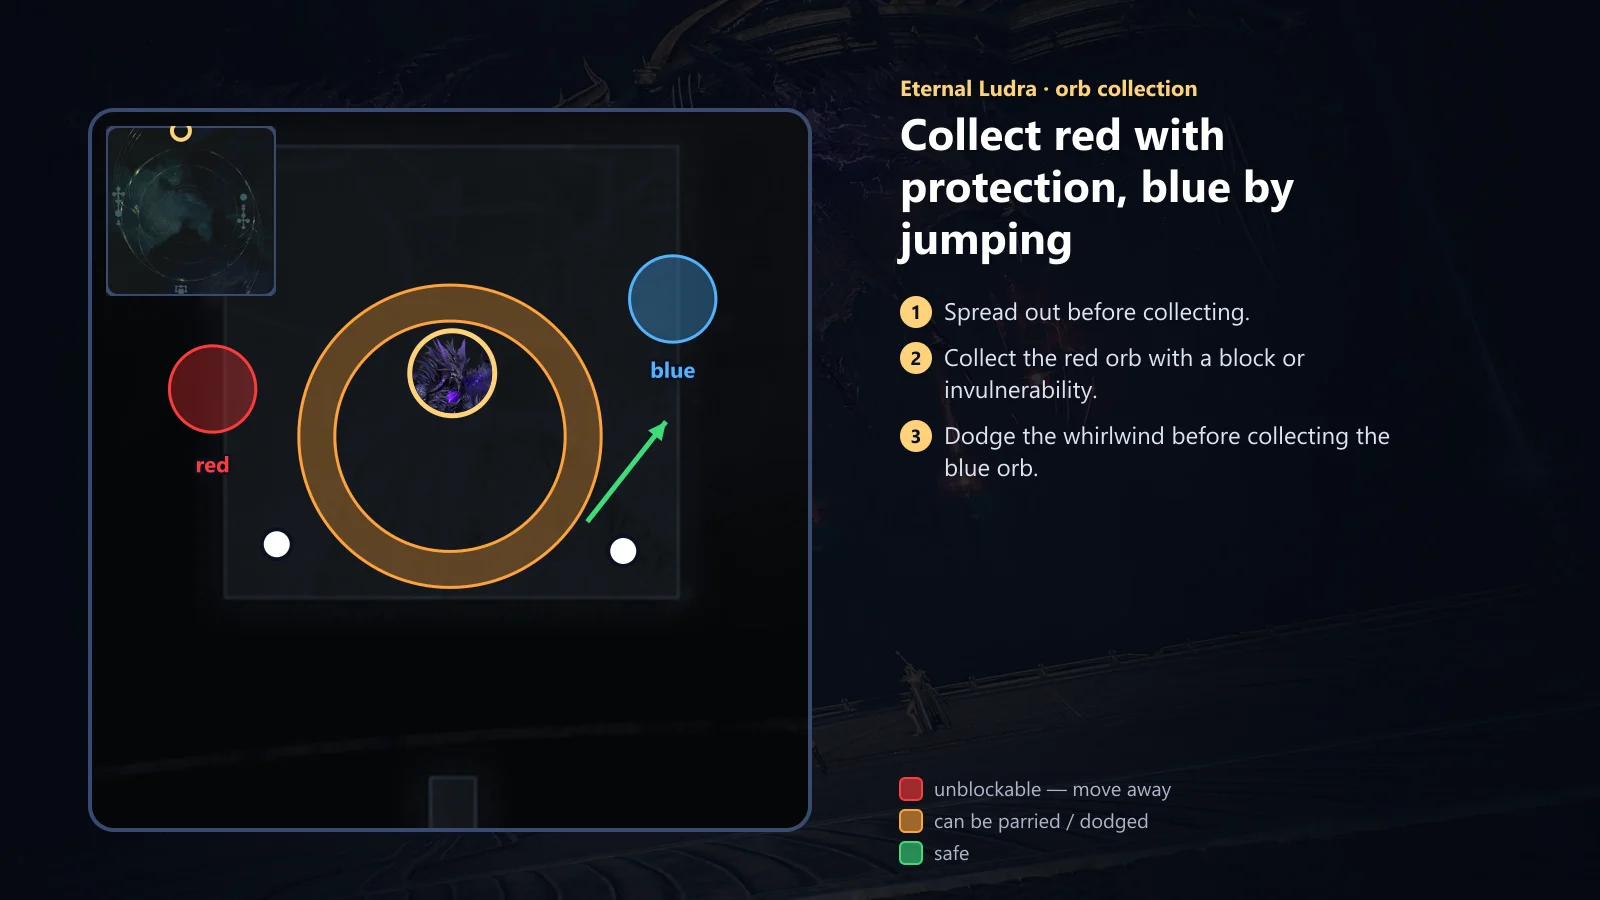
- Red and blue orbsSpread on the call and collect the orbs. A player with a block, invulnerability, or a suitable dodge should collect a red orb; ordinary contact makes it explode and damage everyone. Jump to collect blue orbs. If whirlwinds appear, dodge them first, then collect the orb.
- Breath and personal zonesThe player marked by the breath leads it beside the boss toward the side without orbs, then moves sideways. Dodge personal lightning separately; do not stand beside another player. Prepare to move out before the inner zone explodes.
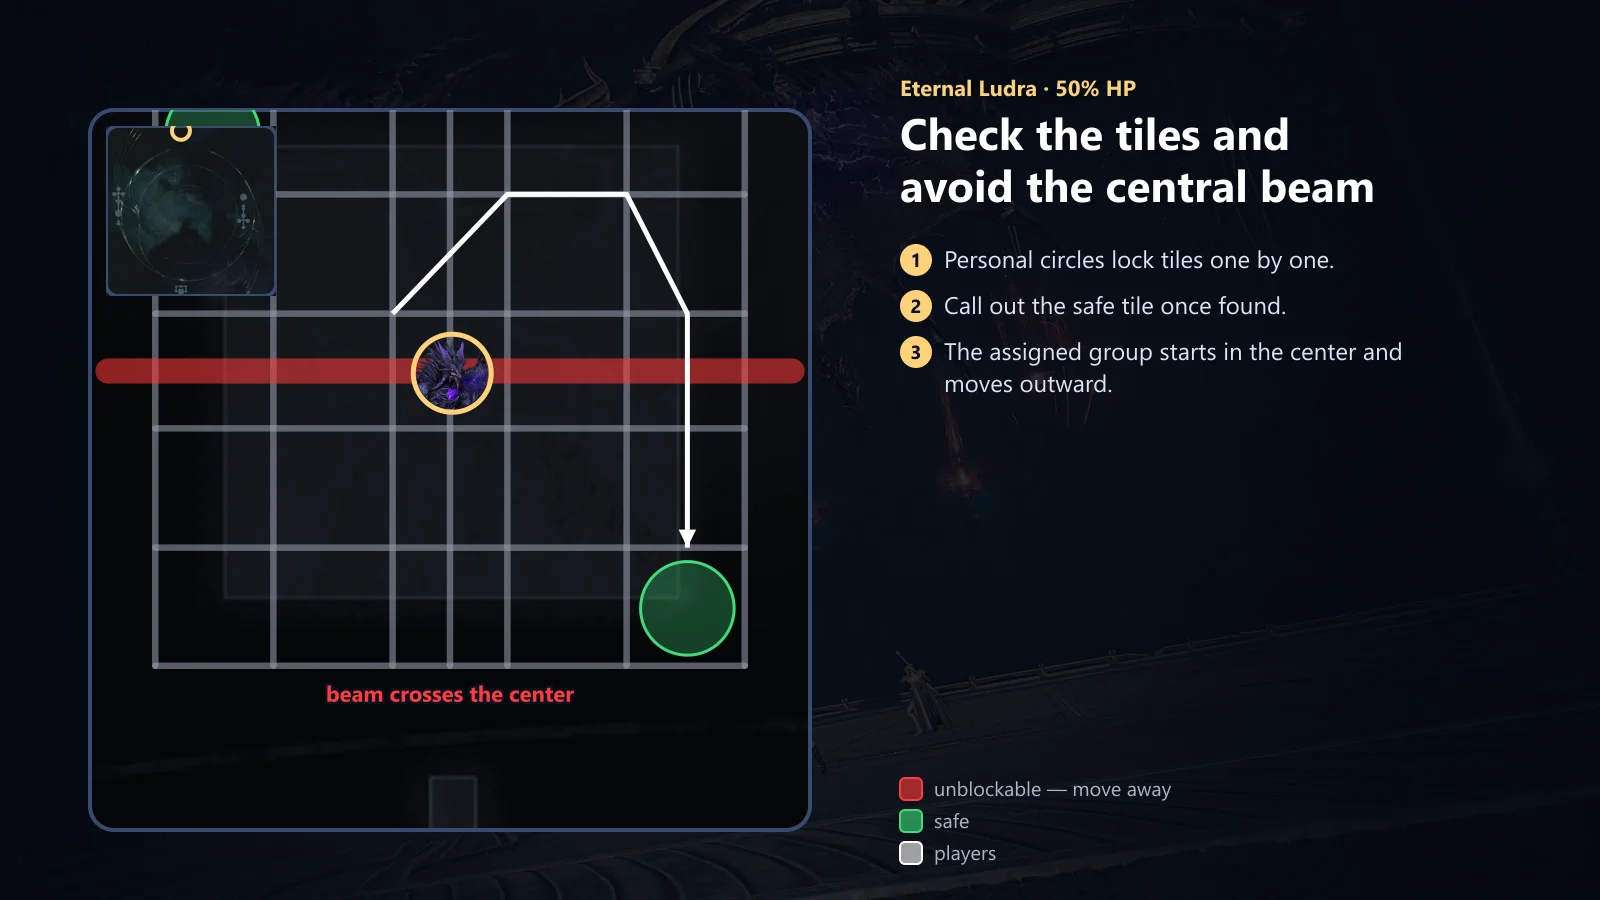
6×6 bingo at 50% A grid of 36 tiles appears. Place personal circles on empty tiles one at a time: once a tile is filled, the zone locks in; then check the next tile. Call out the blue safe tile and move there as a group only after it is confirmed. After two rounds, a deadly beam crosses the center. The assigned group starts on the four central tiles and moves outward; everyone else stays clear of its route. Wait in the safe zone for the orb and the boss's stagger, then attack. Second phase After the stagger, Ludra moves and the arena changes. Keep your spacing. Handle jumps, turning breath, three flashing lines, and the next orb collection separately; two jump-over waves may overlap with the collection. After the boss moves, expect two more waves, narrow fans, and two personal strikes beneath players.
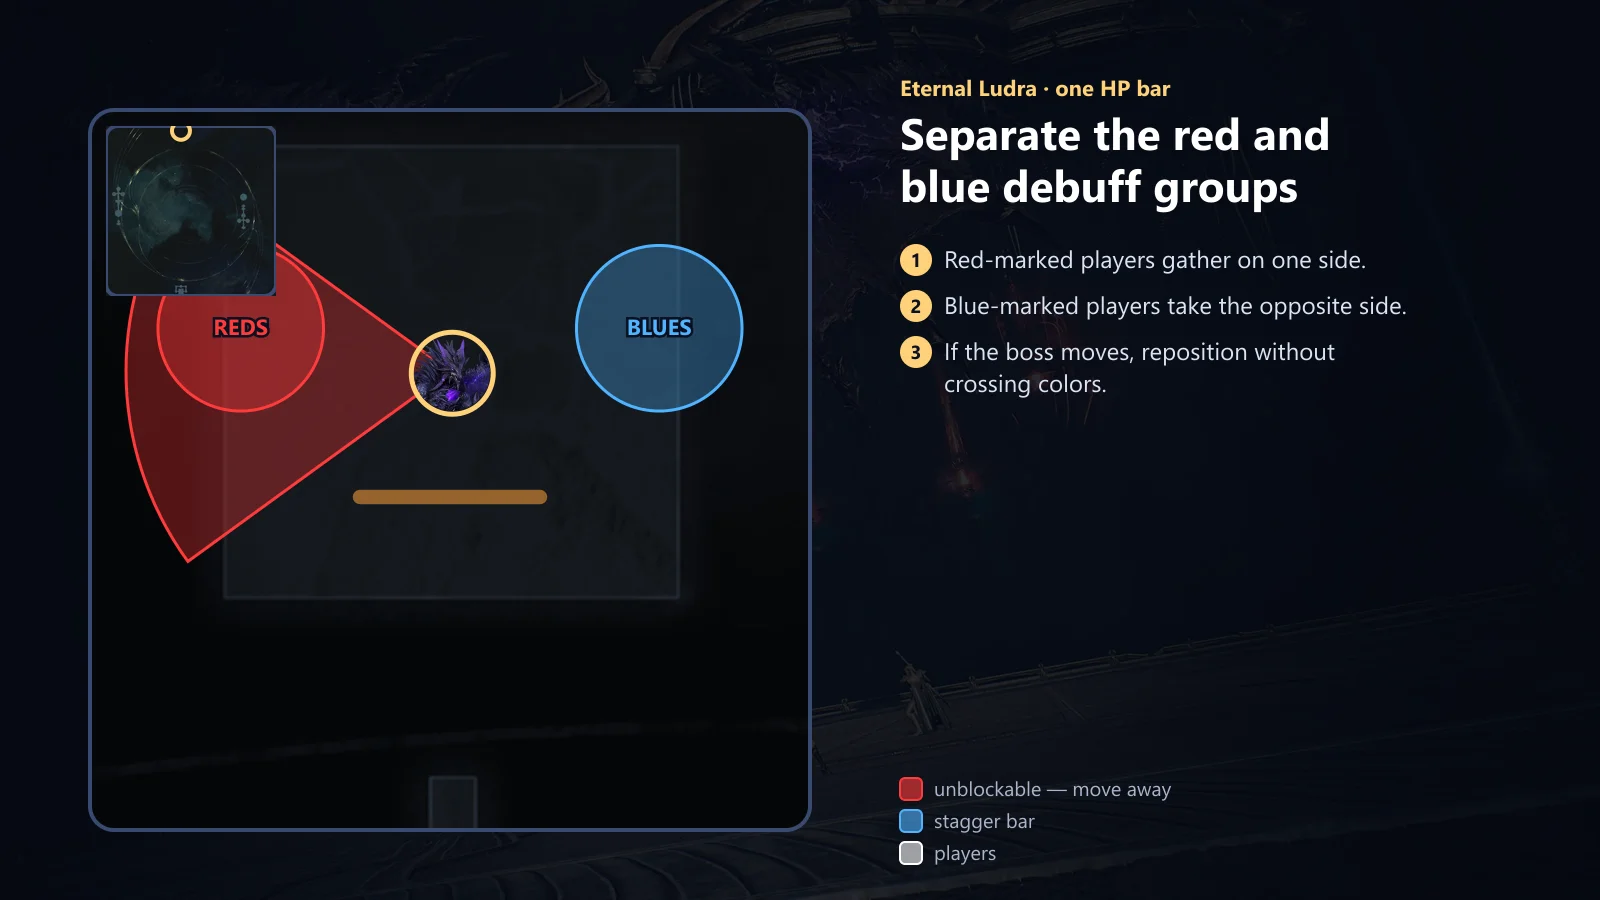
Red and blue debuffs When Ludra shows orbs in its hands, players receive one of two color marks. In the first formation, red players move left and blue players right so lines between colors do not cross. If the boss moves, keep the two groups separated relative to its new position; do not run through the opposite color. Second bingo Clear the grid the same way, but there is no central beam in this round. Instead, two jumping waves come from Ludra's side. Final color zones at about 10% Red and blue zones appear on the floor. Enter the zone matching your debuff about 1.5 seconds before the countdown ends, then stay inside. Leave room for the healer if possible.
Rewards
The client data does not list drop chances from boss chests. Since the November 11 update, Reward Group 5 has a 100% drop rate on both difficulties, up from 30%, and its rewards have been improved. These items were added to the group:
Items in Reward Group 5
 Wrathful Mind (Bound)UniqueWrathful Mind (Bound)
 Wrathful Will (Bound)UniqueWrathful Will (Bound)
 Wrathful Ego (Bound)UniqueWrathful Ego (Bound)
Conquest completion rewards 38
 Gear Change Voucher: Ludra (Bound)Unique
 Abyssal ClaymoreUnique · item lv. 86
 Abyssal LongswordUnique · item lv. 86
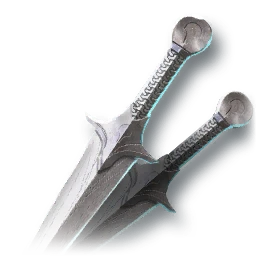
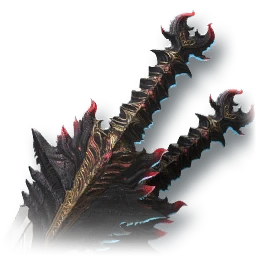 Abyssal DaggerUnique · item lv. 86
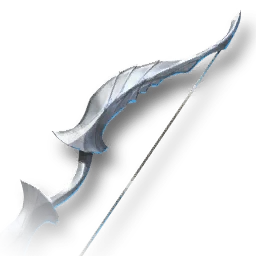
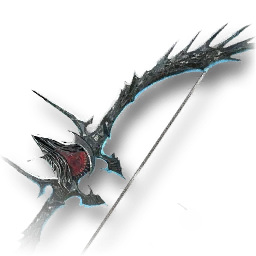 Abyssal BowUnique · item lv. 86
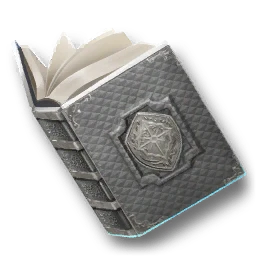
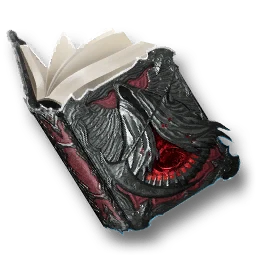 Abyssal SpellbookUnique · item lv. 86
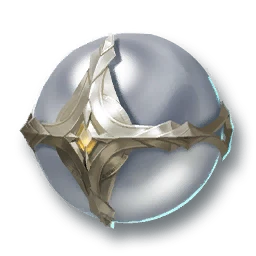
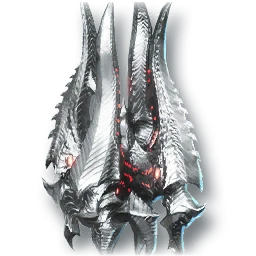 Abyssal OrbUnique · item lv. 86
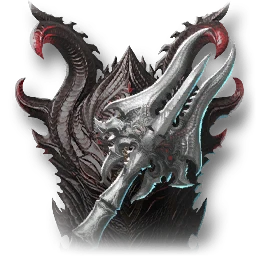 Abyssal MaceUnique · item lv. 86
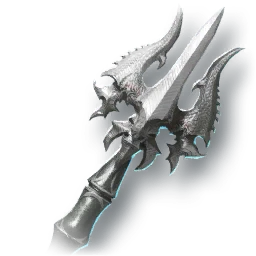 Abyssal StaffUnique · item lv. 86
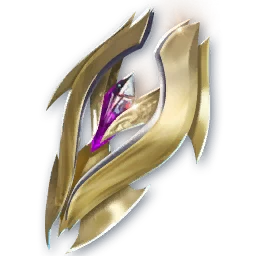 Abyssal GuardUnique · item lv. 86
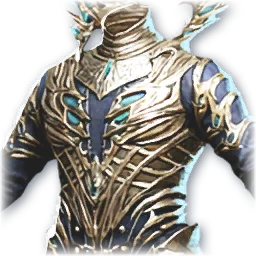 Abyssal BreastplateUnique · item lv. 86
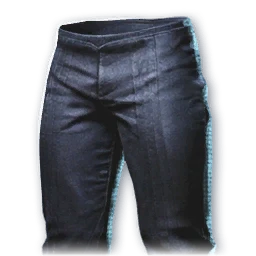 Abyssal GreavesUnique · item lv. 86
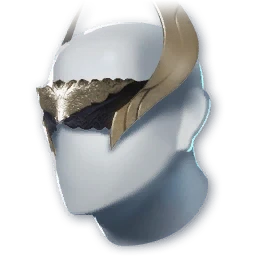 Abyssal HelmUnique · item lv. 86
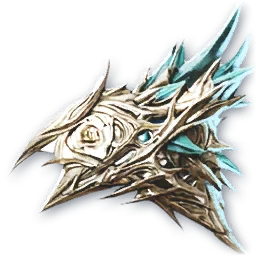 Abyssal PauldronsUnique · item lv. 86
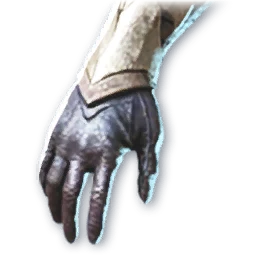 Abyssal GlovesUnique · item lv. 86
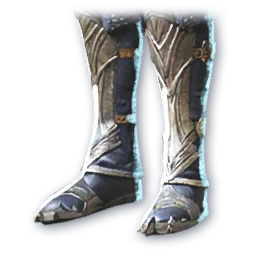 Abyssal BootsUnique · item lv. 86
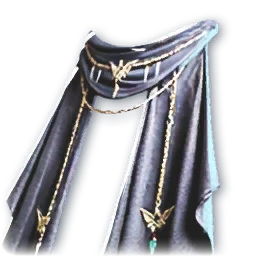 Abyssal CloakUnique · item lv. 86
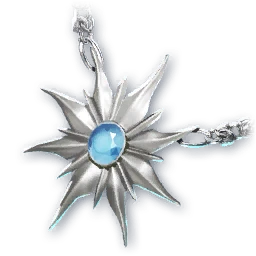 Abyssal NecklaceUnique · item lv. 86
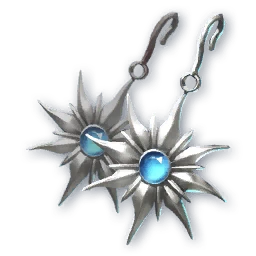 Abyssal EarringsUnique · item lv. 86
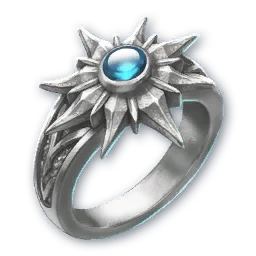 Abyssal RingUnique · item lv. 86
 Amplify Stone Fragment (Unique) (Bound)Unique
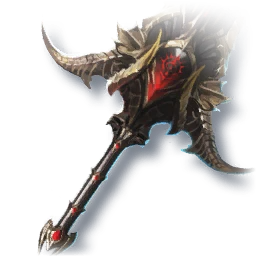 Ludra's Blade of ExtinctionUnique · item lv. 102
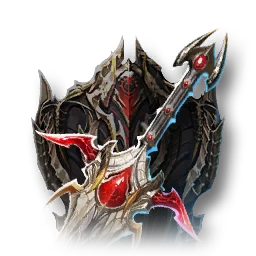 Ludra's Scale SwordUnique · item lv. 102
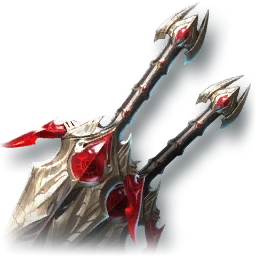 Ludra's ClawUnique · item lv. 102
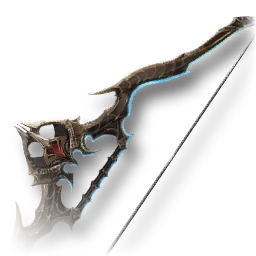 Ludra's Fatal BowUnique · item lv. 102
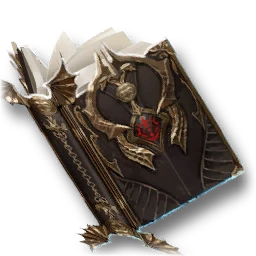 Ludra's GrimoireUnique · item lv. 102
 Ludra's Abyssal JadeUnique · item lv. 102
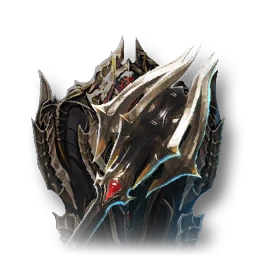 Ludra's Fatal MaceUnique · item lv. 102
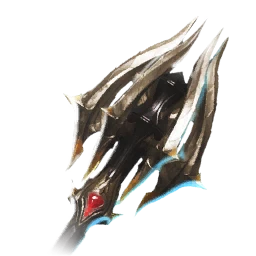 Ludra's Heavenbound StaffUnique · item lv. 102
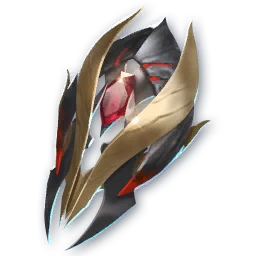 Ludra's HeartUnique · item lv. 102
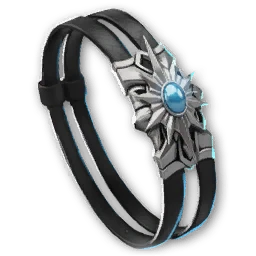 Abyssal BraceletUnique · item lv. 70Gear Change Voucher: Ludra [Hard] (Bound)Unique
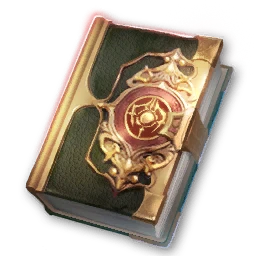 Soul Codex (Bound)Special
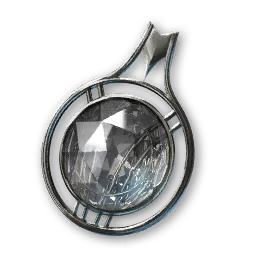 Silentium (Bound)Special
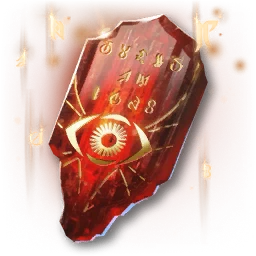 Philosopher's Stone: Revelation (Bound)Special
 KinaCommon
 Lesser Manastone (Bound)Common
 Lesser Soulstone (Bound)Common
Possible boss chest drops 259
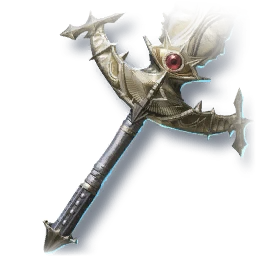 Lunatic GreatswordEpic · item lv. 45
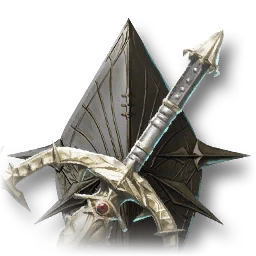 Lunatic LongswordEpic · item lv. 45
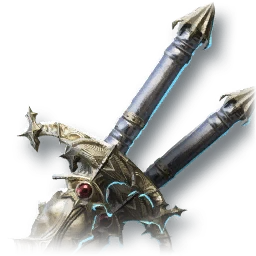 Lunatic DaggerEpic · item lv. 45
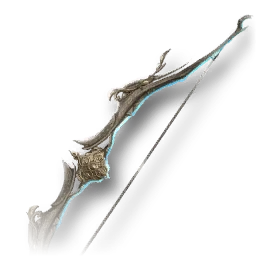 Lunatic BowEpic · item lv. 45
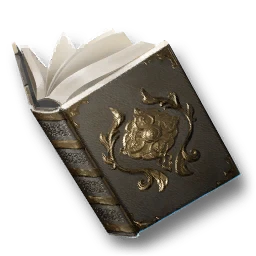 Lunatic SpellbookEpic · item lv. 45
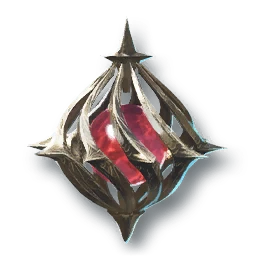 Lunatic OrbEpic · item lv. 45
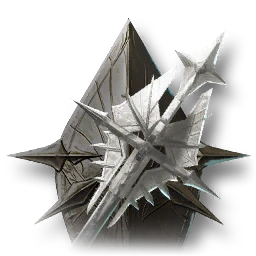 Lunatic MaceEpic · item lv. 45
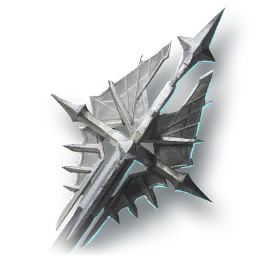 Lunatic StaffEpic · item lv. 45
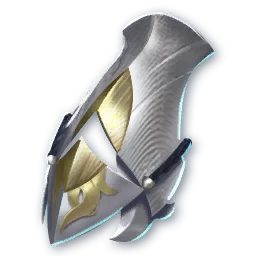 Lunatic GuardEpic · item lv. 45
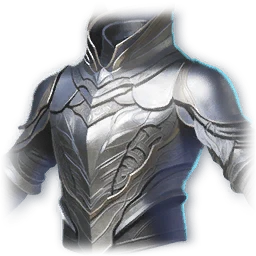 Lunatic BreastplateEpic · item lv. 45
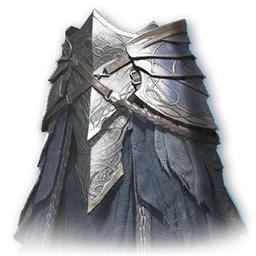 Lunatic GreavesEpic · item lv. 45
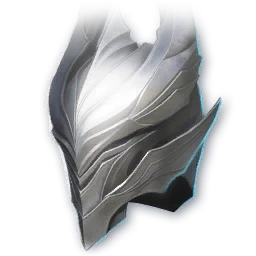 Lunatic HelmEpic · item lv. 45
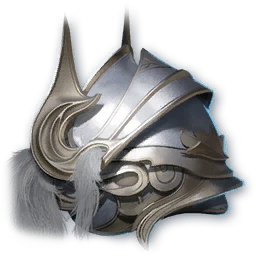 Lunatic PauldronsEpic · item lv. 45
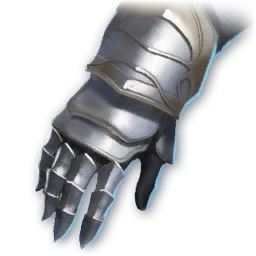 Lunatic GlovesEpic · item lv. 45
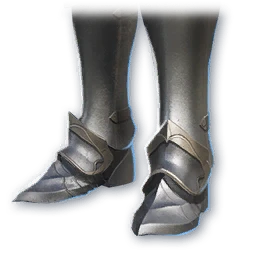 Lunatic BootsEpic · item lv. 45
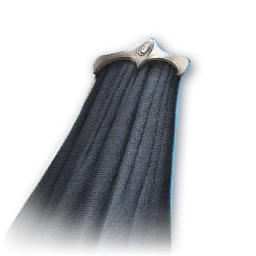 Lunatic CloakEpic · item lv. 45
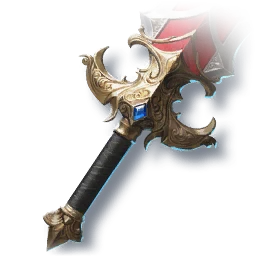 Corrupted Judicator GreatswordEpic · item lv. 45
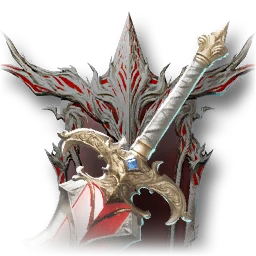 Corrupted Judicator LongswordEpic · item lv. 45
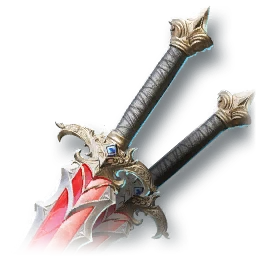 Corrupted Judicator DaggerEpic · item lv. 45
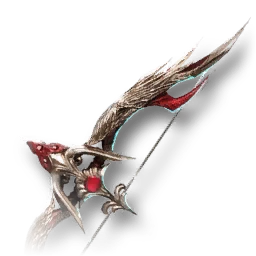 Corrupted Judicator BowEpic · item lv. 45
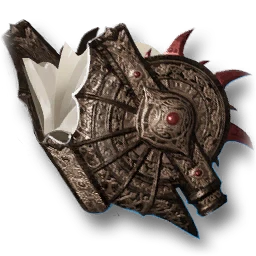 Corrupted Judicator SpellbookEpic · item lv. 45
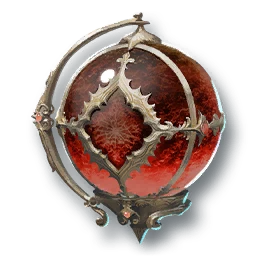 Corrupted Judicator OrbEpic · item lv. 45
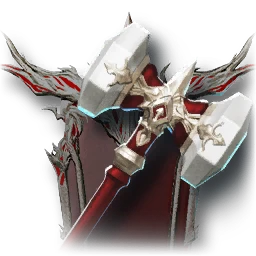 Corrupted Judicator MaceEpic · item lv. 45
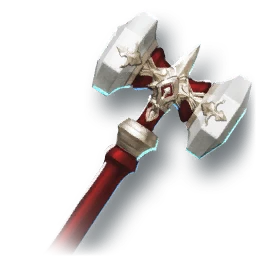 Corrupted Judicator StaffEpic · item lv. 45
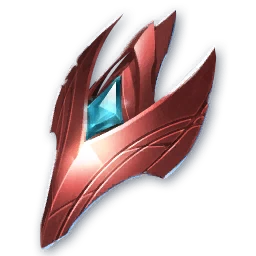 Ignus GuardEpic · item lv. 45
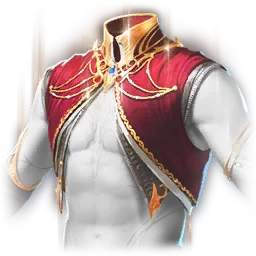 Corrupted Judicator BreastplateEpic · item lv. 45
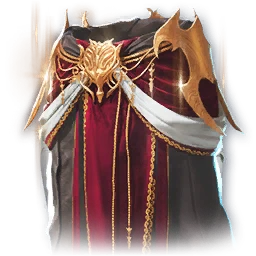 Corrupted Judicator GreavesEpic · item lv. 45
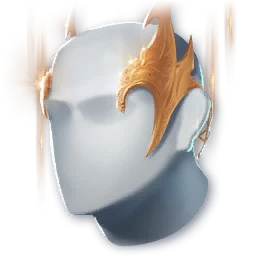 Corrupted Judicator HelmEpic · item lv. 45
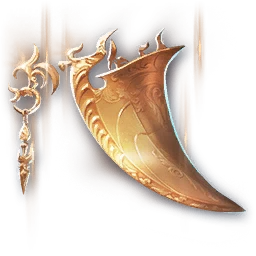 Corrupted Judicator PauldronsEpic · item lv. 45
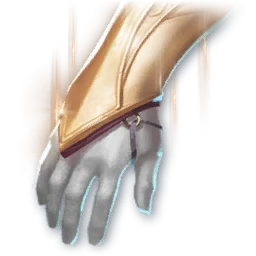 Corrupted Judicator GlovesEpic · item lv. 45
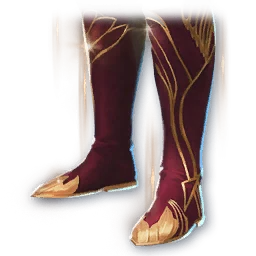 Corrupted Judicator BootsEpic · item lv. 45
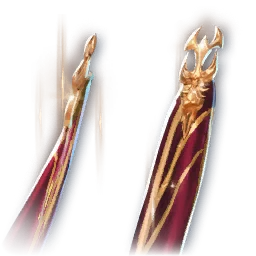 Corrupted Judicator CloakEpic · item lv. 45
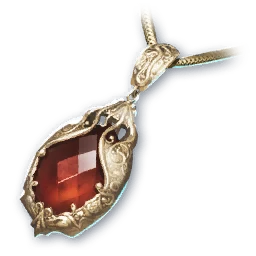 Corrupted Judicator NecklaceEpic · item lv. 45
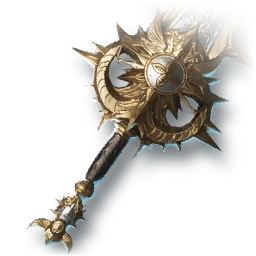 Black Claw GreatswordEpic · item lv. 45
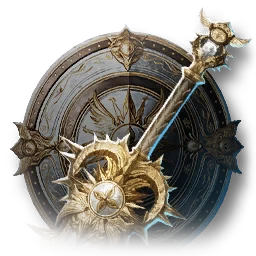 Black Claw LongswordEpic · item lv. 45
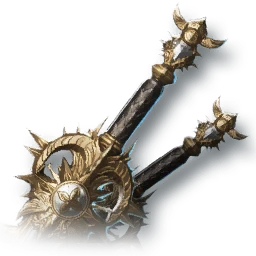 Black Claw DaggerEpic · item lv. 45
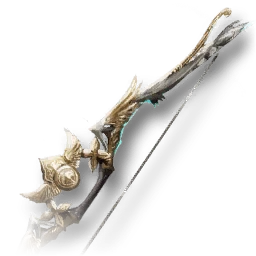 Black Claw BowEpic · item lv. 45
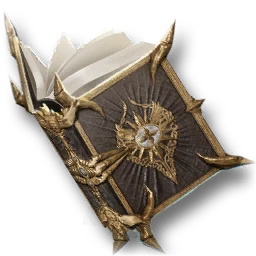 Black Claw SpellbookEpic · item lv. 45
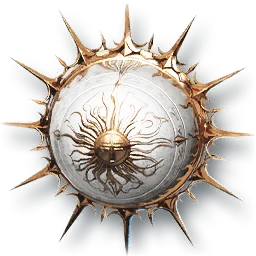 Black Claw OrbEpic · item lv. 45
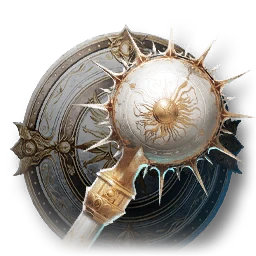 Black Claw MaceEpic · item lv. 45
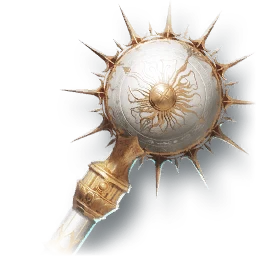 Black Claw StaffEpic · item lv. 45
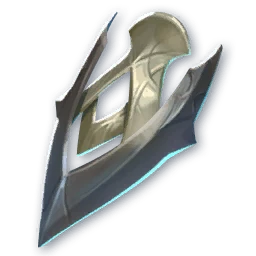 Black Claw GuardEpic · item lv. 45
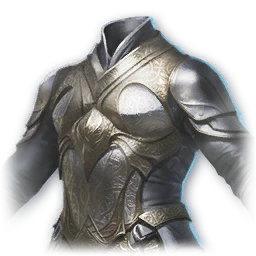 Black Claw BreastplateEpic · item lv. 45
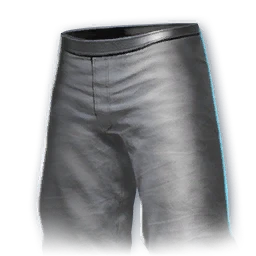 Black Claw GreavesEpic · item lv. 45
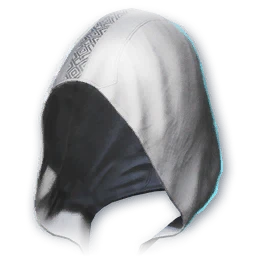 Black Claw HelmEpic · item lv. 45
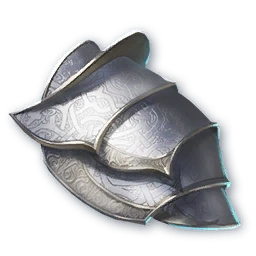 Black Claw PauldronsEpic · item lv. 45
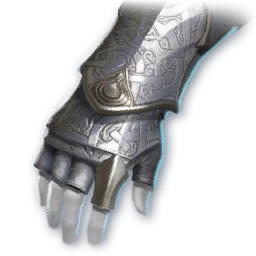 Black Claw GlovesEpic · item lv. 45
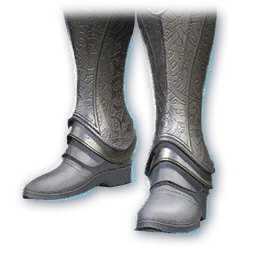 Black Claw BootsEpic · item lv. 45
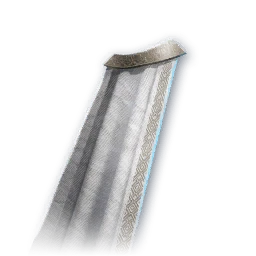 Black Claw CloakEpic · item lv. 45
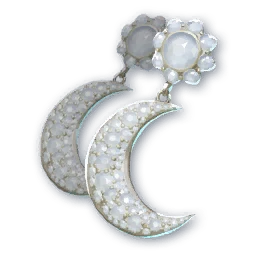 Black Claw EarringsEpic · item lv. 45
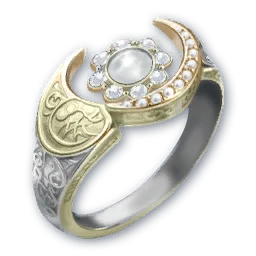 Black Claw RingEpic · item lv. 45
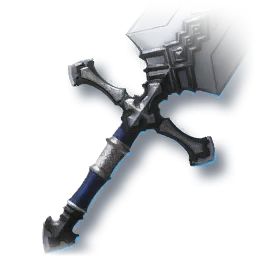 Divine Canyon GreatswordEpic · item lv. 42
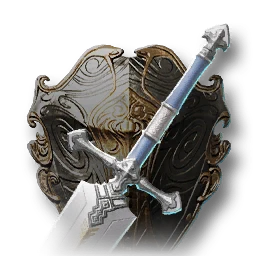 Divine Canyon LongswordEpic · item lv. 42
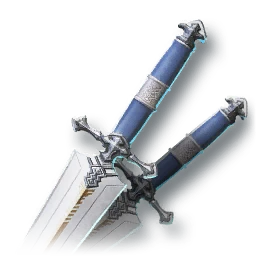 Divine Canyon DaggerEpic · item lv. 42
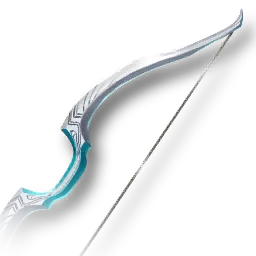 Divine Canyon BowEpic · item lv. 42
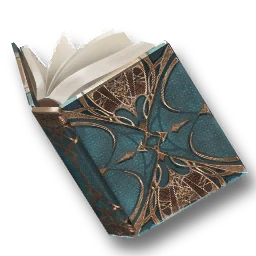 Divine Canyon SpellbookEpic · item lv. 42
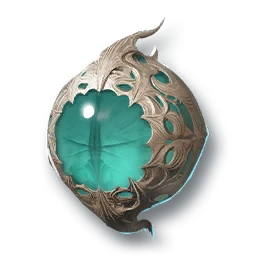 Divine Canyon OrbEpic · item lv. 42
 Divine Canyon MaceEpic · item lv. 42
 Divine Canyon StaffEpic · item lv. 42
 Turbulence GuardEpic · item lv. 42
 Divine Canyon BreastplateEpic · item lv. 42
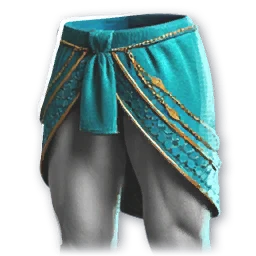 Divine Canyon GreavesEpic · item lv. 42
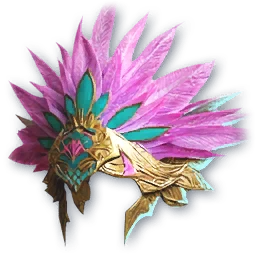 Divine Canyon HelmEpic · item lv. 42
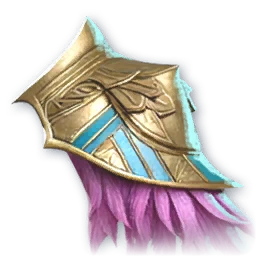 Divine Canyon PauldronsEpic · item lv. 42
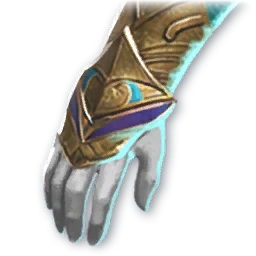 Divine Canyon GlovesEpic · item lv. 42
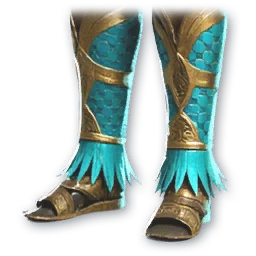 Divine Canyon BootsEpic · item lv. 42
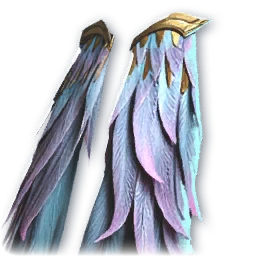 Divine Canyon CloakEpic · item lv. 42
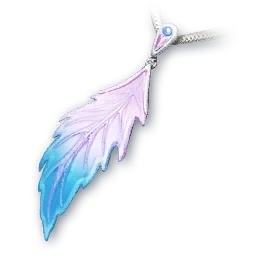 Divine Canyon NecklaceEpic · item lv. 42
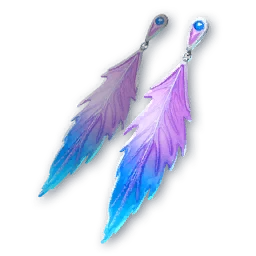 Divine Canyon EarringsEpic · item lv. 42
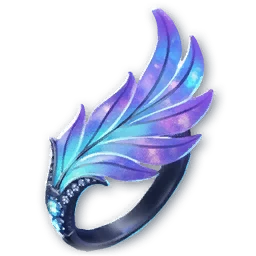 Divine Canyon RingEpic · item lv. 42
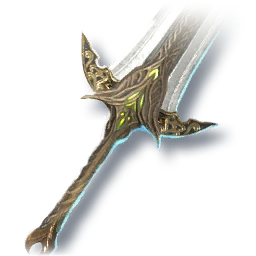 Unyielding GreatswordEpic · item lv. 42
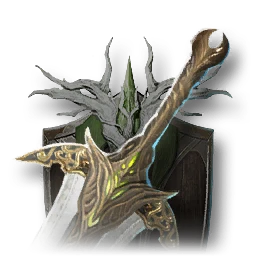 Unyielding LongswordEpic · item lv. 42
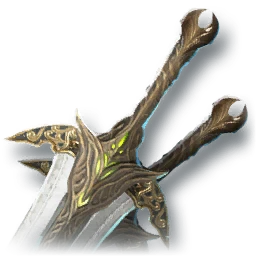 Unyielding DaggerEpic · item lv. 42
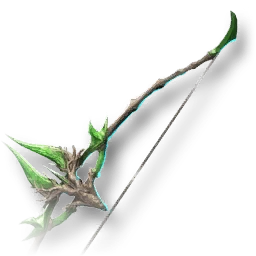 Unyielding BowEpic · item lv. 42
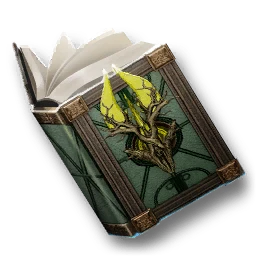 Unyielding SpellbookEpic · item lv. 42
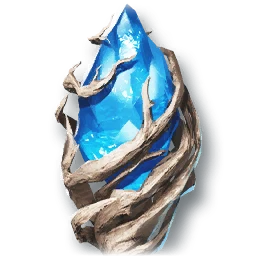 Unyielding OrbEpic · item lv. 42
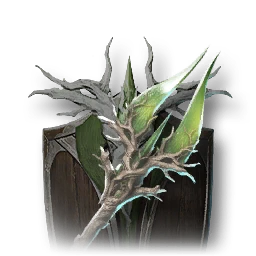 Unyielding MaceEpic · item lv. 42
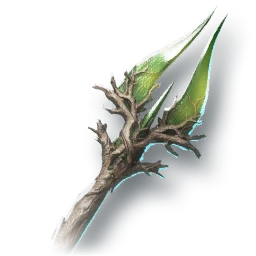 Unyielding StaffEpic · item lv. 42
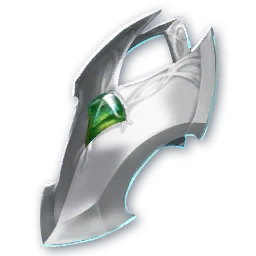 Unyielding GuardEpic · item lv. 42
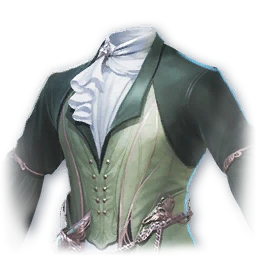 Unyielding BreastplateEpic · item lv. 42
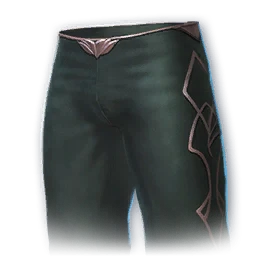 Unyielding GreavesEpic · item lv. 42
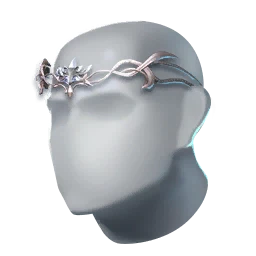 Unyielding HelmEpic · item lv. 42
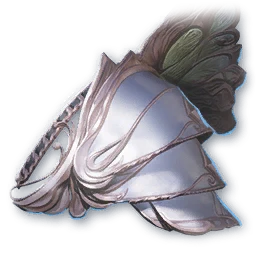 Unyielding PauldronsEpic · item lv. 42
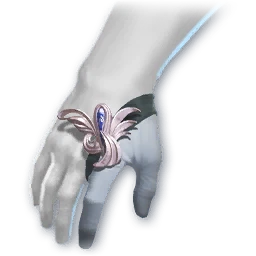 Unyielding GlovesEpic · item lv. 42
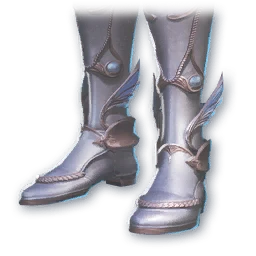 Unyielding BootsEpic · item lv. 42
 Unyielding CloakEpic · item lv. 42
 Unyielding NecklaceEpic · item lv. 42
 Unyielding EarringsEpic · item lv. 42
 Division GreatswordEpic · item lv. 40
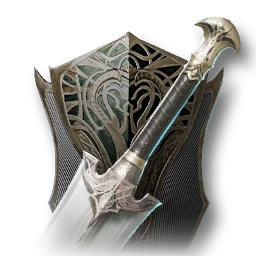 Division LongswordEpic · item lv. 40
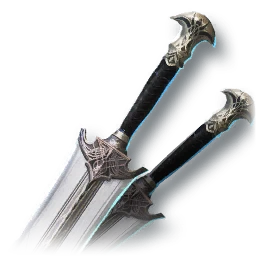 Division DaggerEpic · item lv. 40
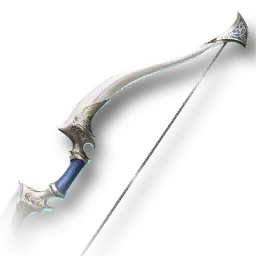 Division BowEpic · item lv. 40
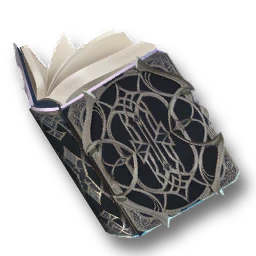 Division SpellbookEpic · item lv. 40
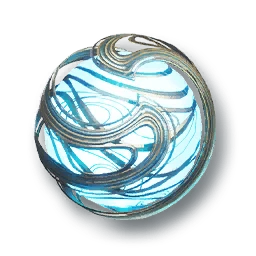 Division OrbEpic · item lv. 40
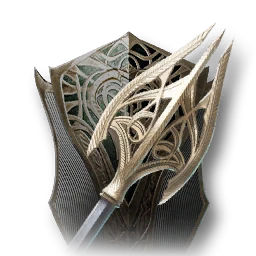 Division MaceEpic · item lv. 40
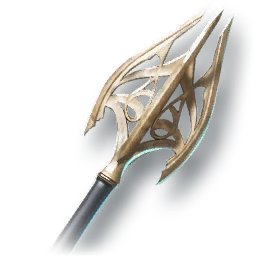 Division StaffEpic · item lv. 40
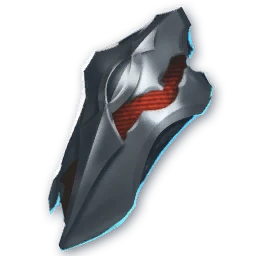 Sealed WillEpic · item lv. 40
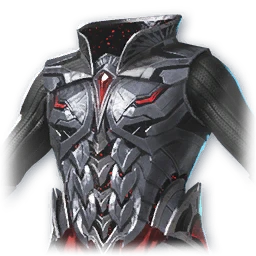 Division BreastplateEpic · item lv. 40
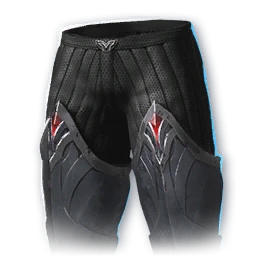 Division GreavesEpic · item lv. 40
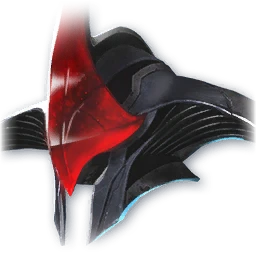 Division HelmEpic · item lv. 40
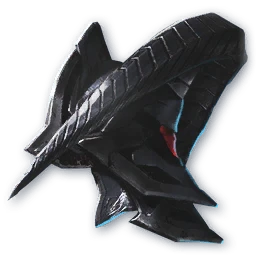 Division PauldronsEpic · item lv. 40
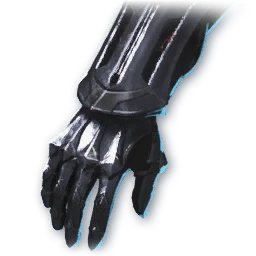 Division GlovesEpic · item lv. 40
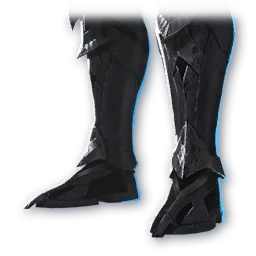 Division BootsEpic · item lv. 40
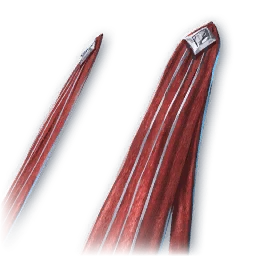 Division CloakEpic · item lv. 40
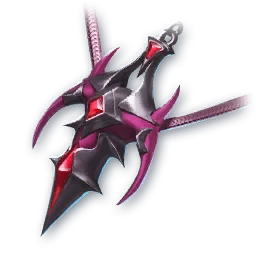 Division NecklaceEpic · item lv. 40
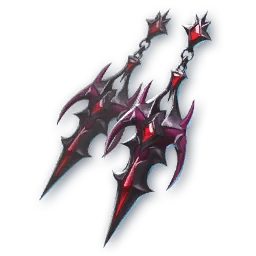 Division EarringsEpic · item lv. 40
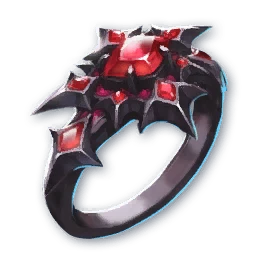 Division RingEpic · item lv. 40
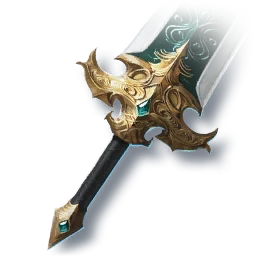 Anguish GreatswordEpic · item lv. 40
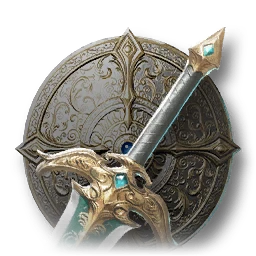 Anguish LongswordEpic · item lv. 40
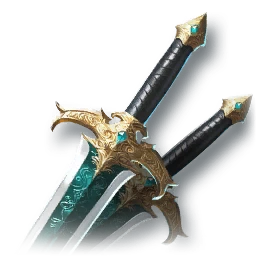 Anguish DaggerEpic · item lv. 40
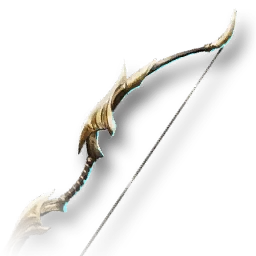 Anguish BowEpic · item lv. 40
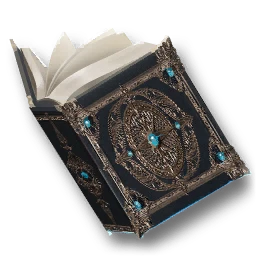 Anguish SpellbookEpic · item lv. 40
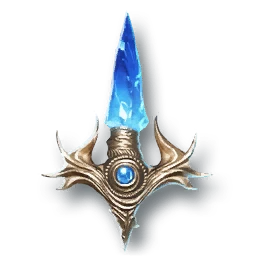 Anguish OrbEpic · item lv. 40
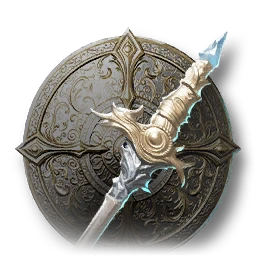 Anguish MaceEpic · item lv. 40
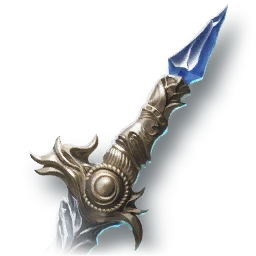 Anguish StaffEpic · item lv. 40
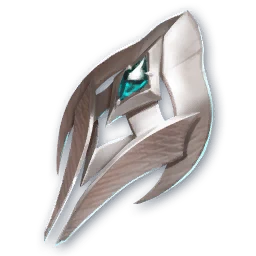 Anguish GuardEpic · item lv. 40
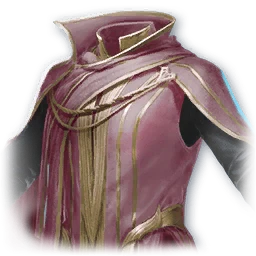 Anguish BreastplateEpic · item lv. 40
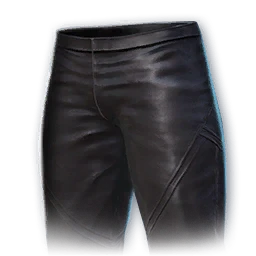 Anguish GreavesEpic · item lv. 40
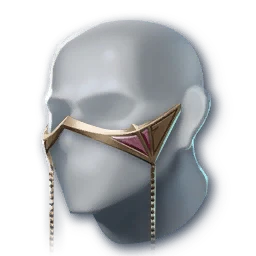 Anguish HelmEpic · item lv. 40
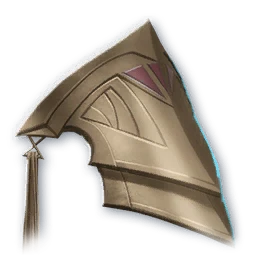 Anguish PauldronsEpic · item lv. 40
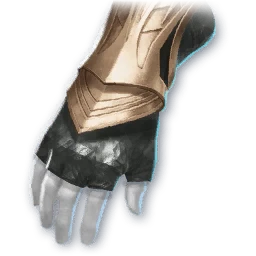 Anguish GlovesEpic · item lv. 40
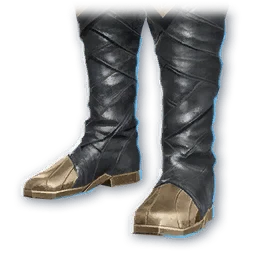 Anguish BootsEpic · item lv. 40
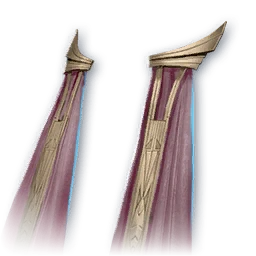 Anguish CloakEpic · item lv. 40
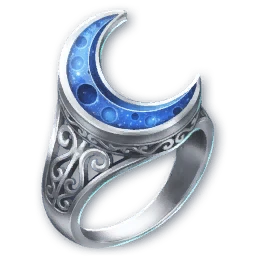 Anguish RingEpic · item lv. 40
 Balaur's EssenceEpic
 Artisan's Refining StoneEpicAmplify Stone Fragment (Unique) (Bound)UniqueLudra's Blade of ExtinctionUnique · item lv. 102Ludra's Scale SwordUnique · item lv. 102Ludra's ClawUnique · item lv. 102Ludra's Fatal BowUnique · item lv. 102Ludra's GrimoireUnique · item lv. 102Ludra's Abyssal JadeUnique · item lv. 102Ludra's Fatal MaceUnique · item lv. 102Ludra's Heavenbound StaffUnique · item lv. 102Ludra's HeartUnique · item lv. 102Abyssal BraceletUnique · item lv. 70Abyssal ClaymoreUnique · item lv. 86Abyssal LongswordUnique · item lv. 86Abyssal DaggerUnique · item lv. 86Abyssal BowUnique · item lv. 86Abyssal SpellbookUnique · item lv. 86Abyssal OrbUnique · item lv. 86Abyssal MaceUnique · item lv. 86Abyssal StaffUnique · item lv. 86Abyssal GuardUnique · item lv. 86Abyssal BreastplateUnique · item lv. 86Abyssal GreavesUnique · item lv. 86Abyssal HelmUnique · item lv. 86Abyssal PauldronsUnique · item lv. 86Abyssal GlovesUnique · item lv. 86Abyssal BootsUnique · item lv. 86Abyssal CloakUnique · item lv. 86Abyssal NecklaceUnique · item lv. 86Abyssal EarringsUnique · item lv. 86Abyssal RingUnique · item lv. 86
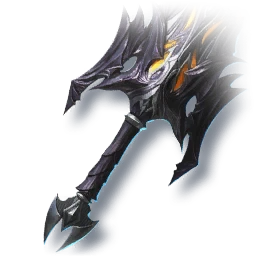 Enraged Kromede ClaymoreUnique · item lv. 86
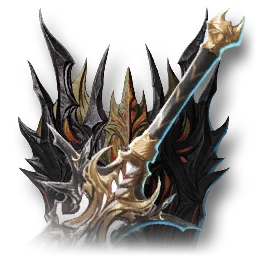 Enraged Kromede SwordUnique · item lv. 86
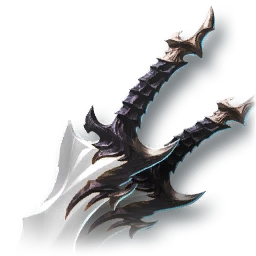 Enraged Kromede Silver DaggerUnique · item lv. 86
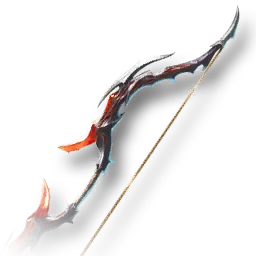 Enraged Kromede LongbowUnique · item lv. 86
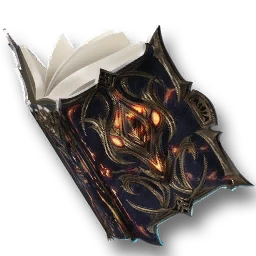 Enraged Kromede SpellbookUnique · item lv. 86
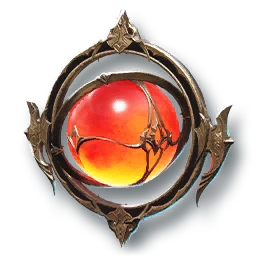 Enraged Kromede JewelUnique · item lv. 86
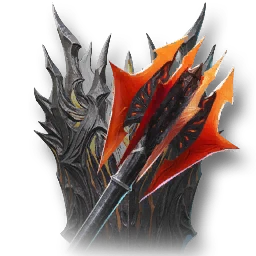 Enraged Kromede WarhammerUnique · item lv. 86
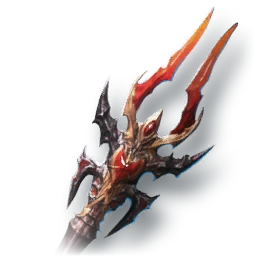 Enraged Kromede RodUnique · item lv. 86
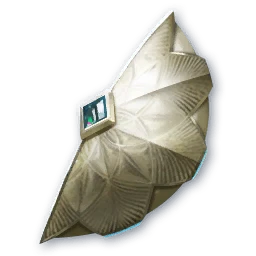 Nuakum GuardUnique · item lv. 86
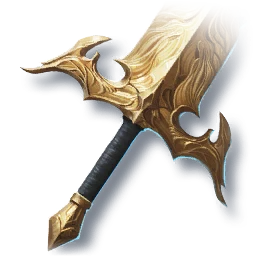 Aulamus GreatswordUnique · item lv. 70
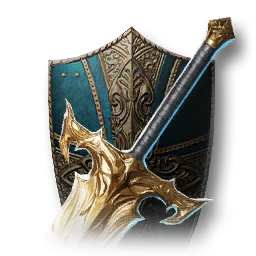 Aulamus LongswordUnique · item lv. 70
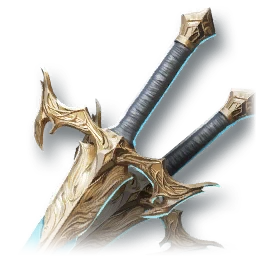 Aulamus DaggerUnique · item lv. 70
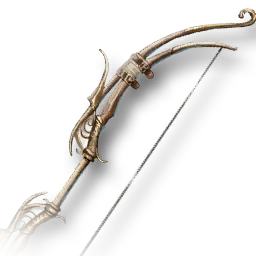 Aulamus BowUnique · item lv. 70
 Aulamus SpellbookUnique · item lv. 70
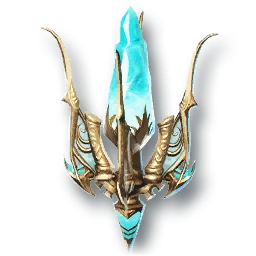 Aulamus OrbUnique · item lv. 70
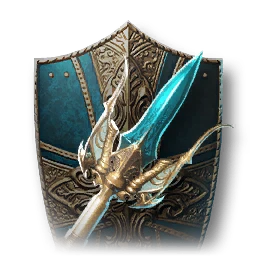 Aulamus MaceUnique · item lv. 70
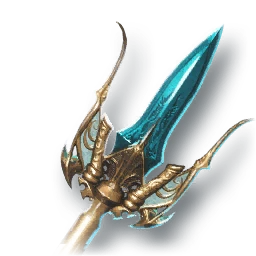 Aulamus StaffUnique · item lv. 70
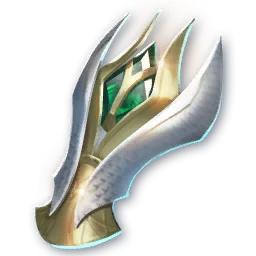 Vakron GuardUnique · item lv. 70
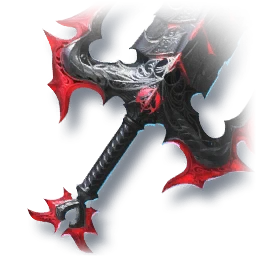 Rupture ClaymoreUnique · item lv. 54
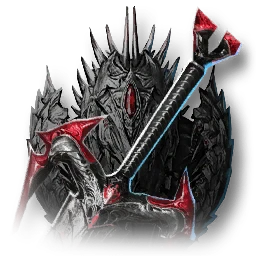 Rupture SwordUnique · item lv. 54
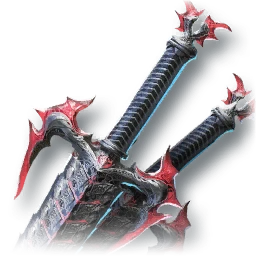 Rupture KnifeUnique · item lv. 54
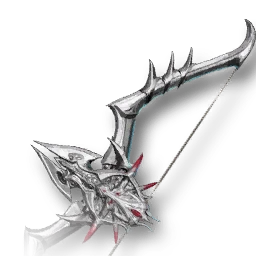 Rupture LongbowUnique · item lv. 54
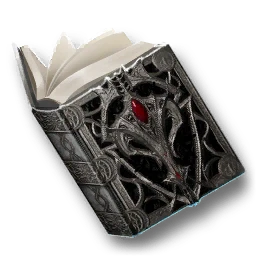 Rupture TomeUnique · item lv. 54
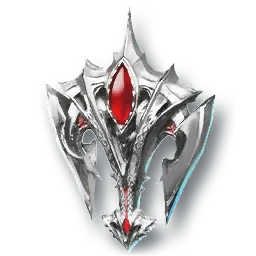 Rupture JewelUnique · item lv. 54
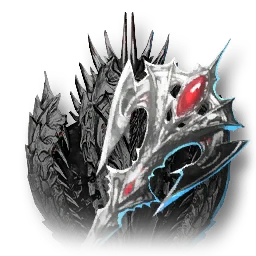 Rupture WarhammerUnique · item lv. 54
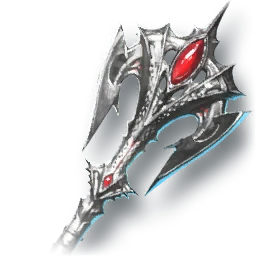 Rupture RodUnique · item lv. 54
 Bakarma GuardUnique · item lv. 54
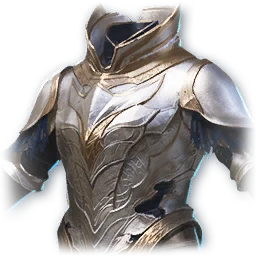 Nuakum BreastplateUnique · item lv. 86
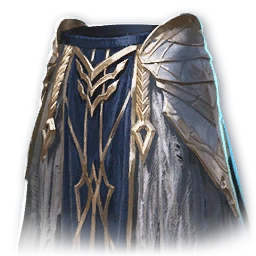 Nuakum GreavesUnique · item lv. 86
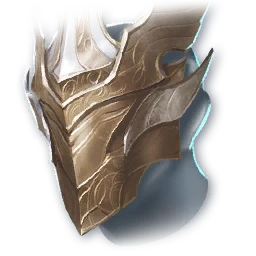 Nuakum HelmUnique · item lv. 86
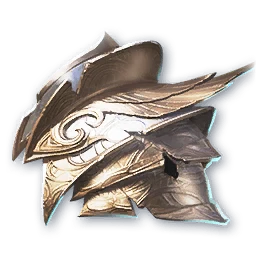 Nuakum PauldronsUnique · item lv. 86
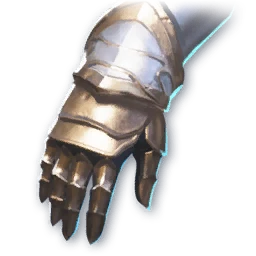 Nuakum GlovesUnique · item lv. 86
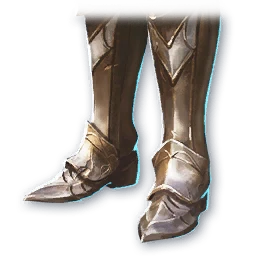 Nuakum BootsUnique · item lv. 86
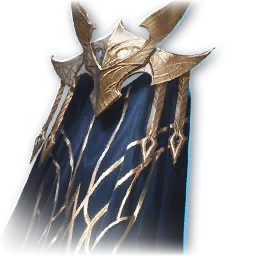 Nuakum CloakUnique · item lv. 86
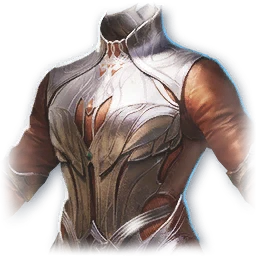 Vakron BreastplateUnique · item lv. 70
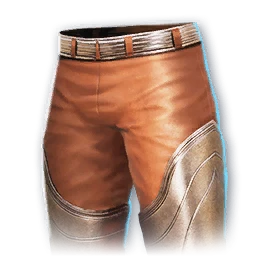 Vakron GreavesUnique · item lv. 70
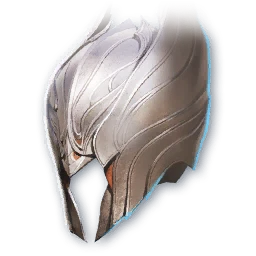 Vakron HelmUnique · item lv. 70
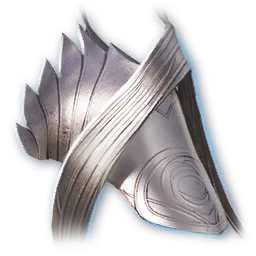 Vakron PauldronsUnique · item lv. 70
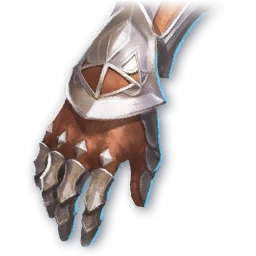 Vakron GlovesUnique · item lv. 70
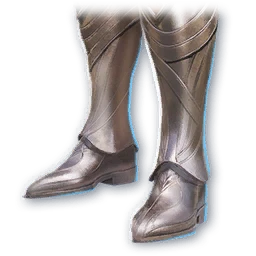 Vakron BootsUnique · item lv. 70
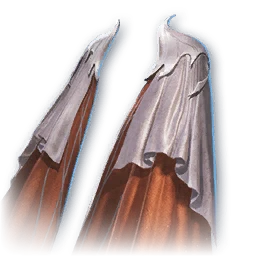 Vakron CloakUnique · item lv. 70
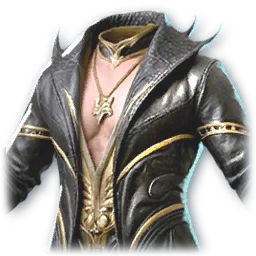 Bakarma BreastplateUnique · item lv. 54
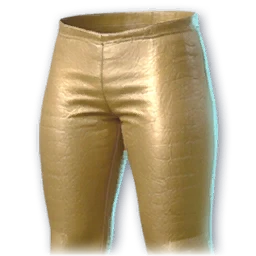 Bakarma GreavesUnique · item lv. 54
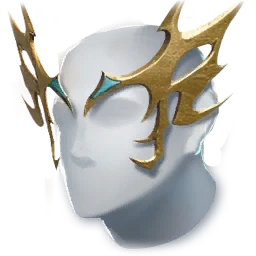 Bakarma HelmUnique · item lv. 54
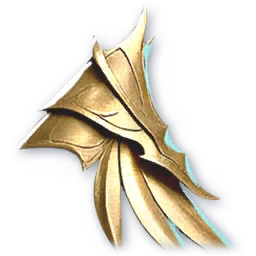 Bakarma PauldronsUnique · item lv. 54
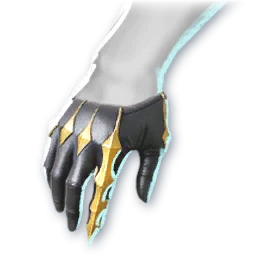 Bakarma GlovesUnique · item lv. 54
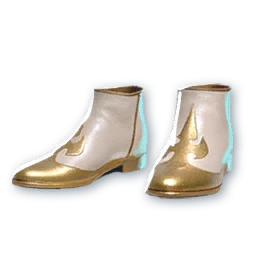 Bakarma BootsUnique · item lv. 54
 Bakarma CloakUnique · item lv. 54
 Enraged Kromede NecklaceUnique · item lv. 86
 Enraged Kromede EarringsUnique · item lv. 86
 Enraged Kromede RingUnique · item lv. 86
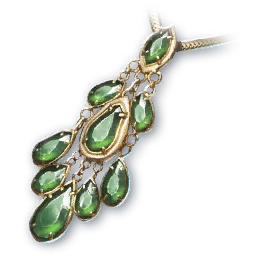 Aulamus NecklaceUnique · item lv. 70
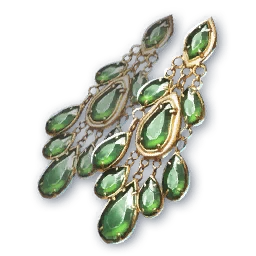 Aulamus EarringsUnique · item lv. 70
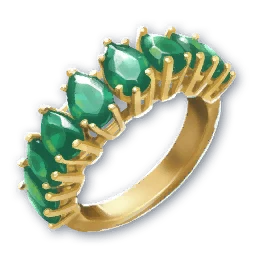 Aulamus RingUnique · item lv. 70
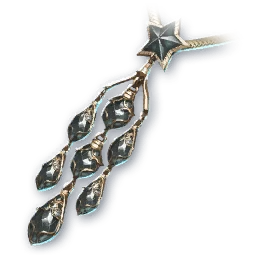 Berk NecklaceUnique · item lv. 54
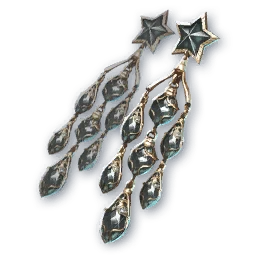 Berk EarringsUnique · item lv. 54
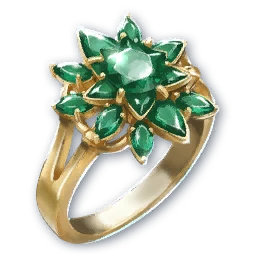 Berk RingUnique · item lv. 54Wrathful MindUniqueWrathful WillUniqueWrathful EgoUnique
 Artisan's Ultimate Refining StoneUnique
 Sealed Abyssal Waves WingsUnique
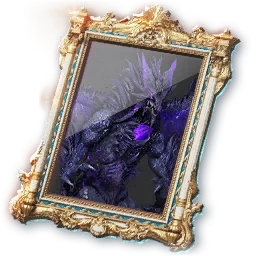 Artwork: Abyssal LudraHeroic
 Vagabond GreatswordRare · item lv. 30
 Vagabond LongswordRare · item lv. 30
 Vagabond DaggerRare · item lv. 30
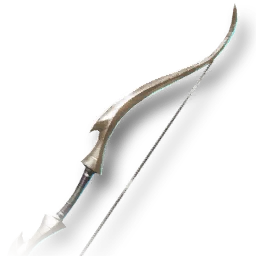 Vagabond BowRare · item lv. 30
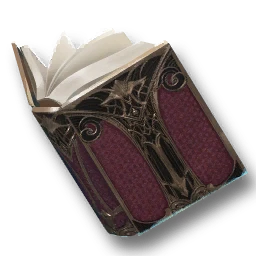 Vagabond SpellbookRare · item lv. 30
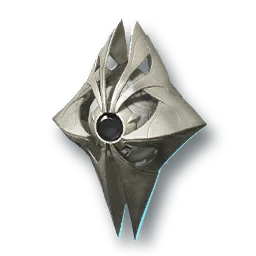 Vagabond OrbRare · item lv. 30
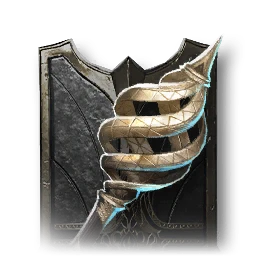 Vagabond MaceRare · item lv. 30
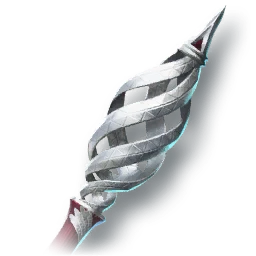 Vagabond StaffRare · item lv. 30
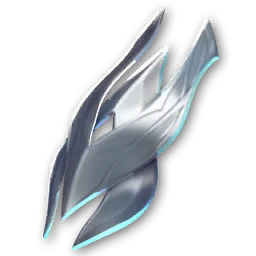 Vagabond GuardRare · item lv. 30
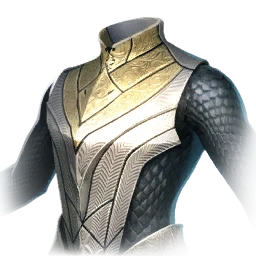 Vagabond BreastplateRare · item lv. 30
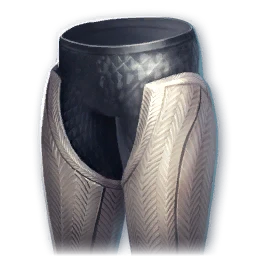 Vagabond GreavesRare · item lv. 30
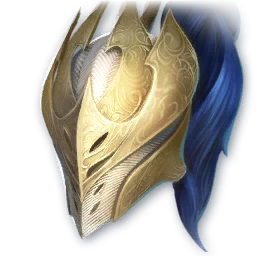 Vagabond HelmRare · item lv. 30
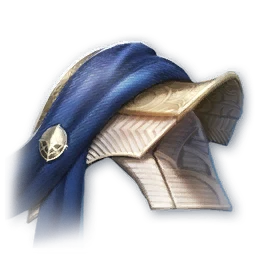 Vagabond PauldronsRare · item lv. 30
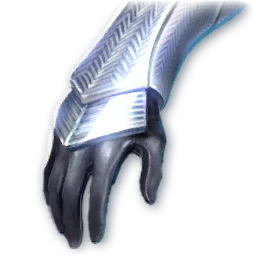 Vagabond GlovesRare · item lv. 30
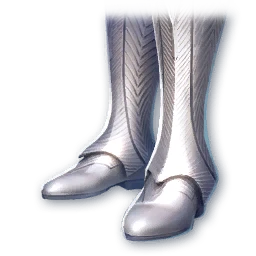 Vagabond BootsRare · item lv. 30
 Vagabond CloakRare · item lv. 30
 Expert's Refining StoneRareSoul Codex (Bound)SpecialSilentium (Bound)SpecialPhilosopher's Stone: Revelation (Bound)SpecialKinaCommonLesser Manastone (Bound)CommonLesser Soulstone (Bound)Common
 Earth GreatswordCommon · item lv. 20
 Earth LongswordCommon · item lv. 20
 Earth DaggerCommon · item lv. 20
 Earth BowCommon · item lv. 20
 Earth SpellbookCommon · item lv. 20
 Earth OrbCommon · item lv. 20
 Earth MaceCommon · item lv. 20
 Earth StaffCommon · item lv. 20
 Earth GuardCommon · item lv. 20
 Earth BreastplateCommon · item lv. 20
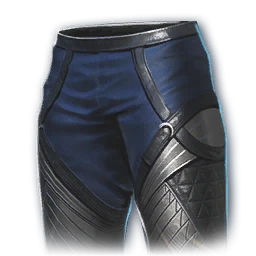 Earth GreavesCommon · item lv. 20
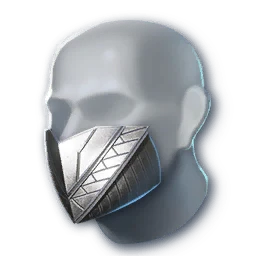 Earth HelmCommon · item lv. 20
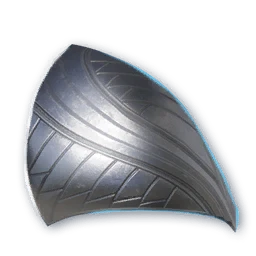 Earth PauldronsCommon · item lv. 20
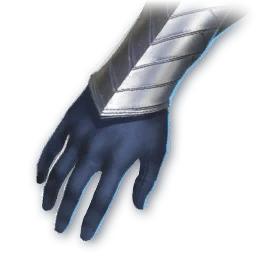 Earth GlovesCommon · item lv. 20
 Earth BootsCommon · item lv. 20
 Earth CloakCommon · item lv. 20
 Refining StoneCommon
Before the fight
- Two groups and the players responsible for the three auxiliary cores are assigned
- A Kisk is placed at the entrance; healers have agreed on survival and revives
- At Rahu, pass the timer before it expires and leave personal zones at the edge
- At Ketu, remember the 6 o'clock landmark, facing rules, and laser route
- At Ludra, collect red orbs only with a defensive skill; jump for blue ones
- A caller for the bingo safe tile and the group starting in the center are assigned
- Color debuffs split to opposite sides; enter final zones matching your color
- Passing the timer at the last secondAn ally may not have time to accept the mark. Move over early; the bearer dying leaves a black hole.
- Running through a laser or turning away from itFace the beams first, then move through the gap between them.
- Taking a red orb without protectionIt explodes across the room. Assign a player to collect it with a defensive skill.
- Getting lost during bingoDo not step on an unchecked tile or cross the route of the group starting in the center.
- Stacking with the other colorLines between red and blue groups deal heavy damage. Reposition together when the boss moves.
Key points
Before the raid, assign roles and activate the auxiliary cores. At Rahu, pass the timer and clear the arena edge. At Ketu, use the landmarks to cross the lasers and remember: face red, turn away from blue. At Ludra, keep your distance, collect red orbs with protection, confirm a safe bingo tile before moving, and stand in the zone matching your color at the end.
Comments